Last October, we – Martha Ramirez [@martharamirezco] and Carolina R Buitrago [@crbuitrago] – participated in ASOCOPI’s (Asociación Colombiana de Profesores de Inglés) 51st annual conference, whose main focus was on using technology in ELT… right up our alley!
Since both of us have been applying in-class flips in our classes for the past year, this became a great opportunity to share with English teachers in Colombia what we were doing; and what better way to do it than through an in-class flip? That is, teaching about in-class flip through an in-class flip. This is what Woodward (2003) calls loop input.
So in the planning stage of this session, we knew the following:
- We presented on a Friday after lunch time
- We had 45 minutes for the session
- The maximum number of participants was 30
- We could project our slides on a flat screen TV of about 32’ inches
- We would present in a school classroom
- There were no available laptops except ours
- We didn’t know who would attend
With this in mind, we agreed on what we would do: a duplicated simple sequenced in-class flip (see figure below). In other words, we would have two stations with tasks on understanding what flipped learning was (in charge of Carolina) and another two focused on understanding an in-class flip (Martha’s task)
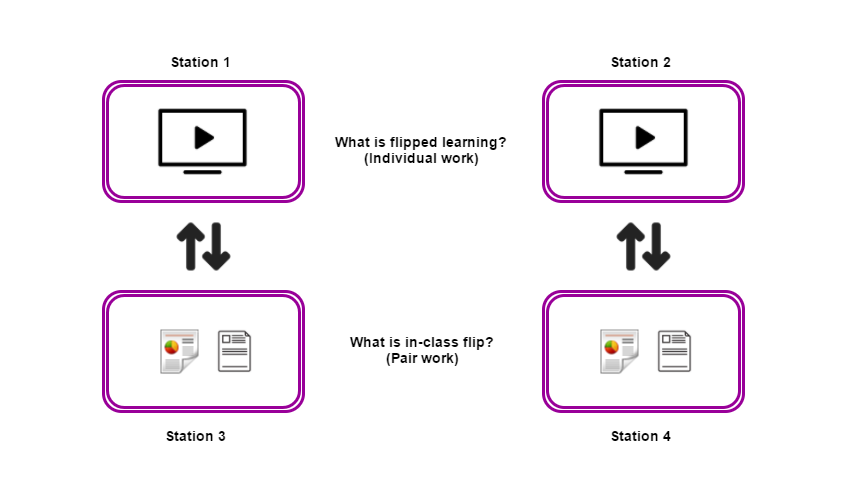
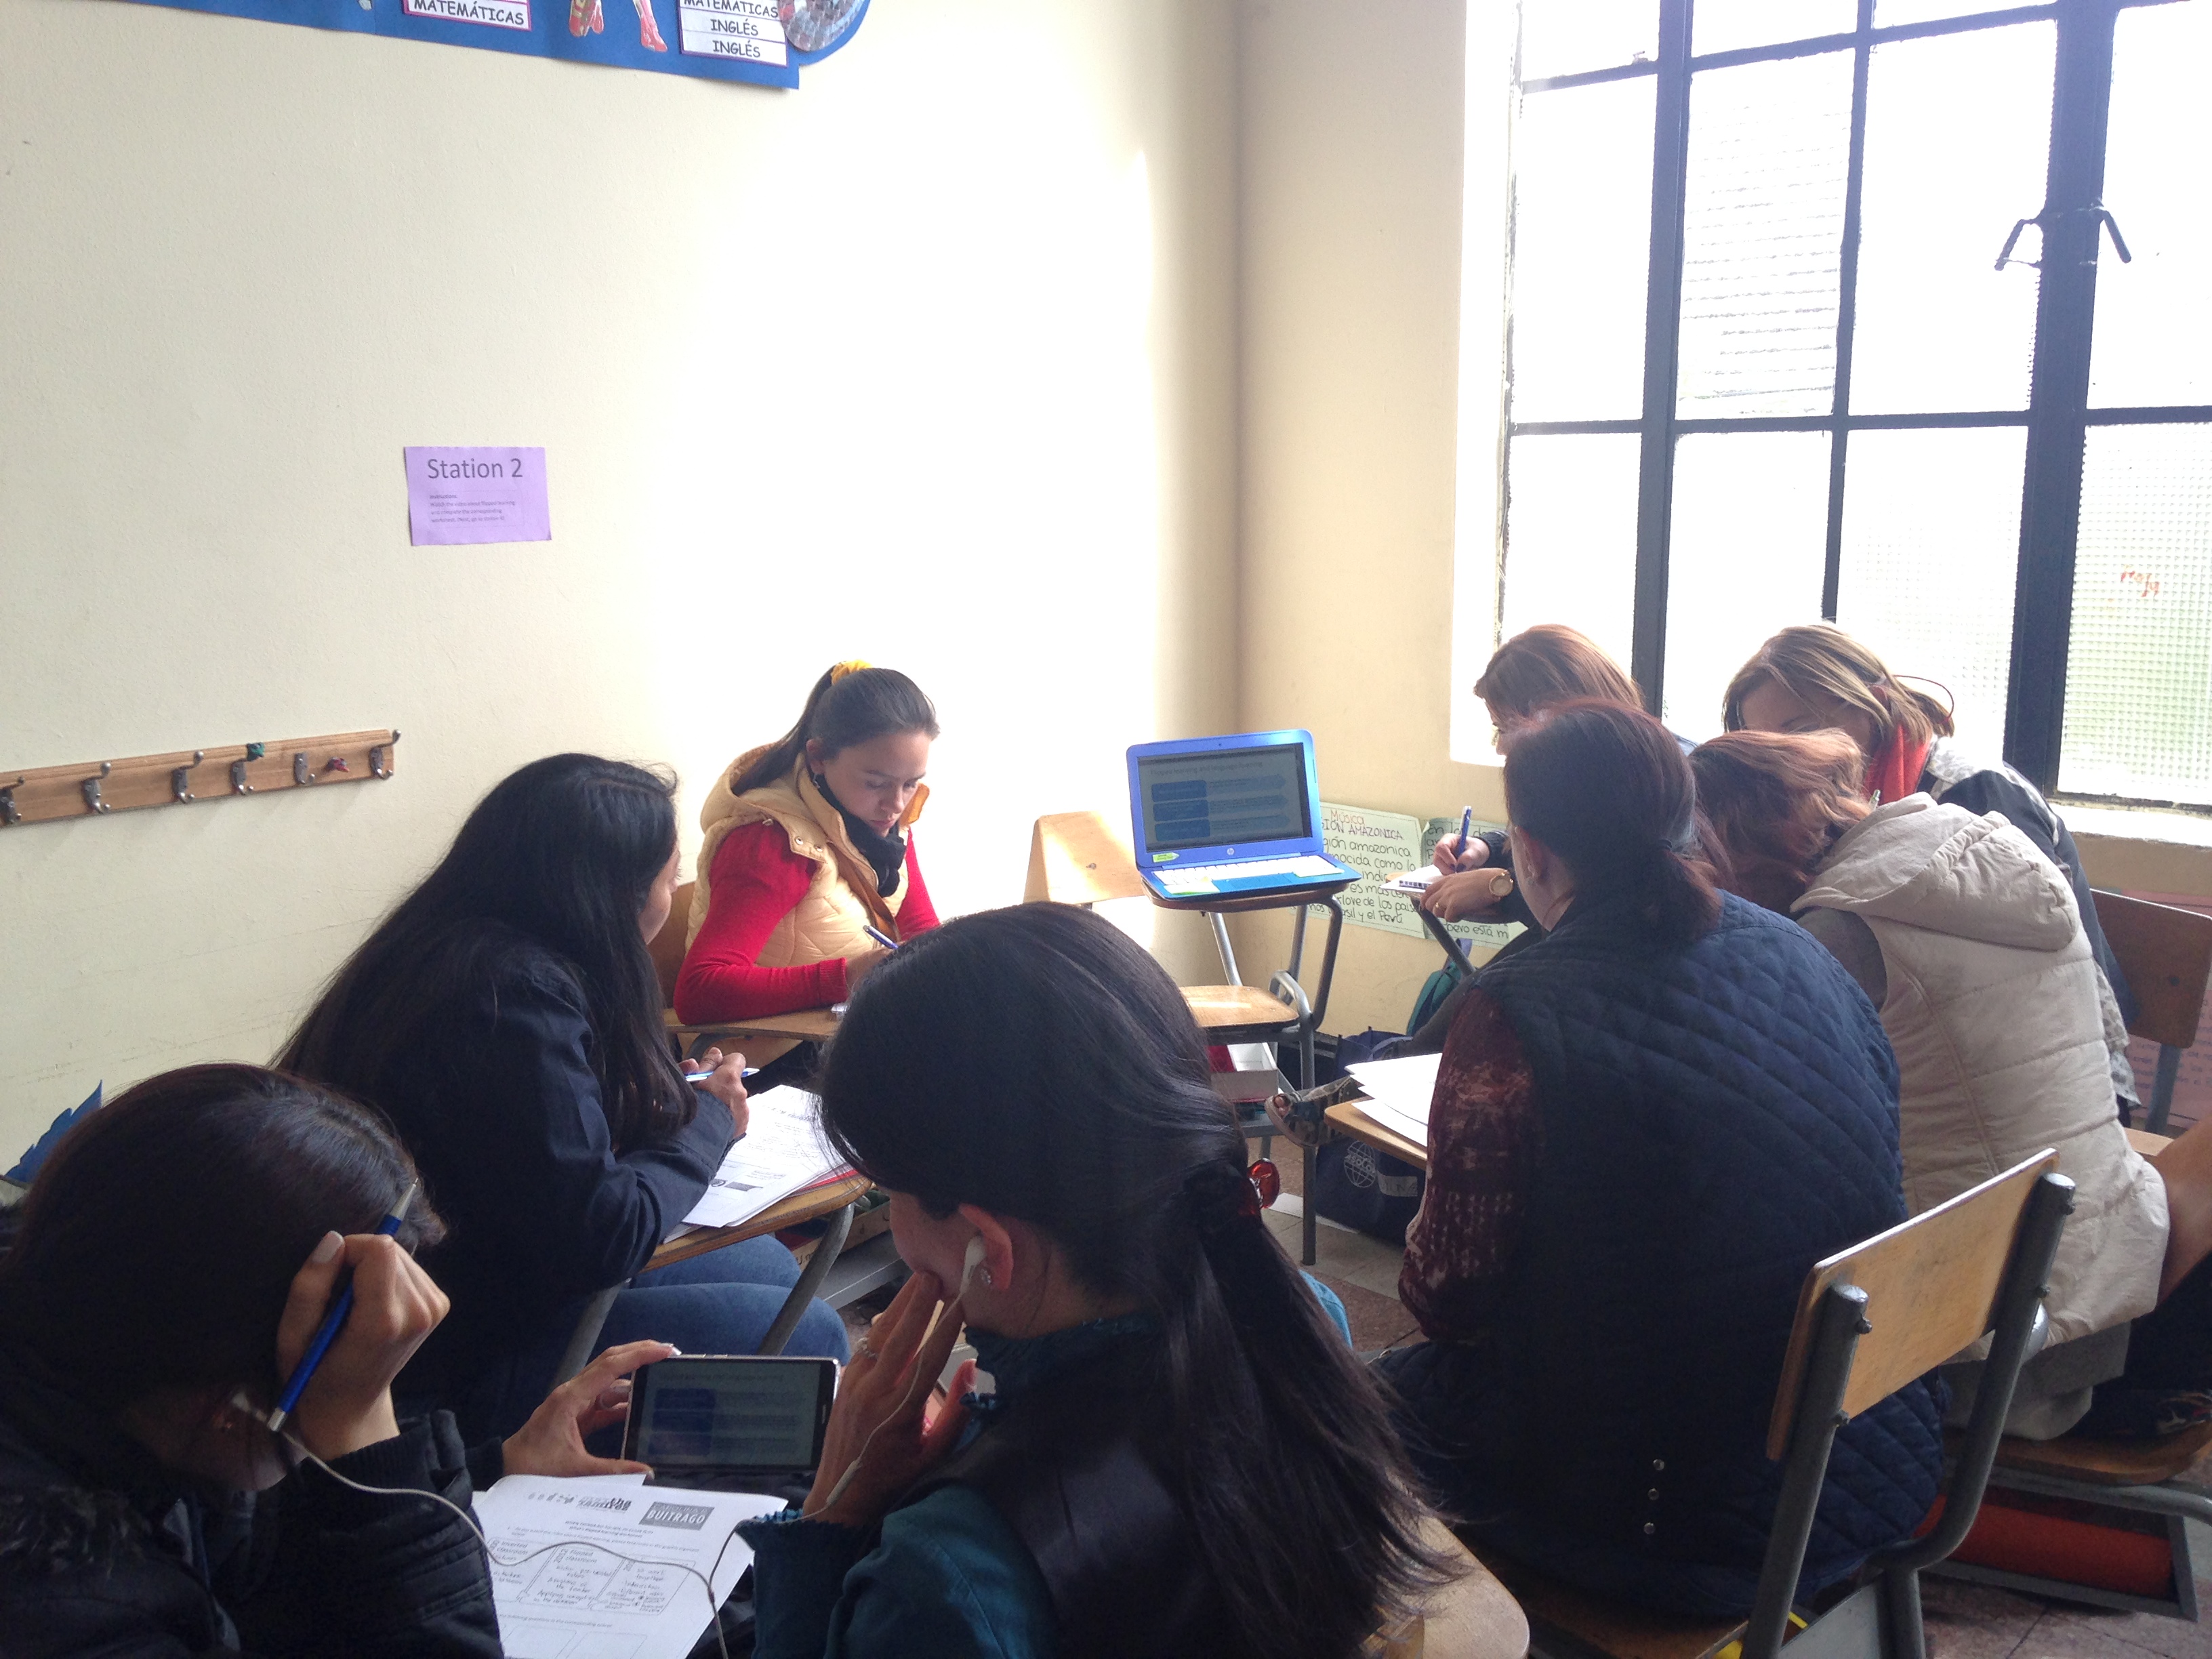
Station 1 and 2:
In this station participants were asked to watch a video created by Carolina on what flipped learning is. Participants were asked to fill in a flipped learning video worksheet.
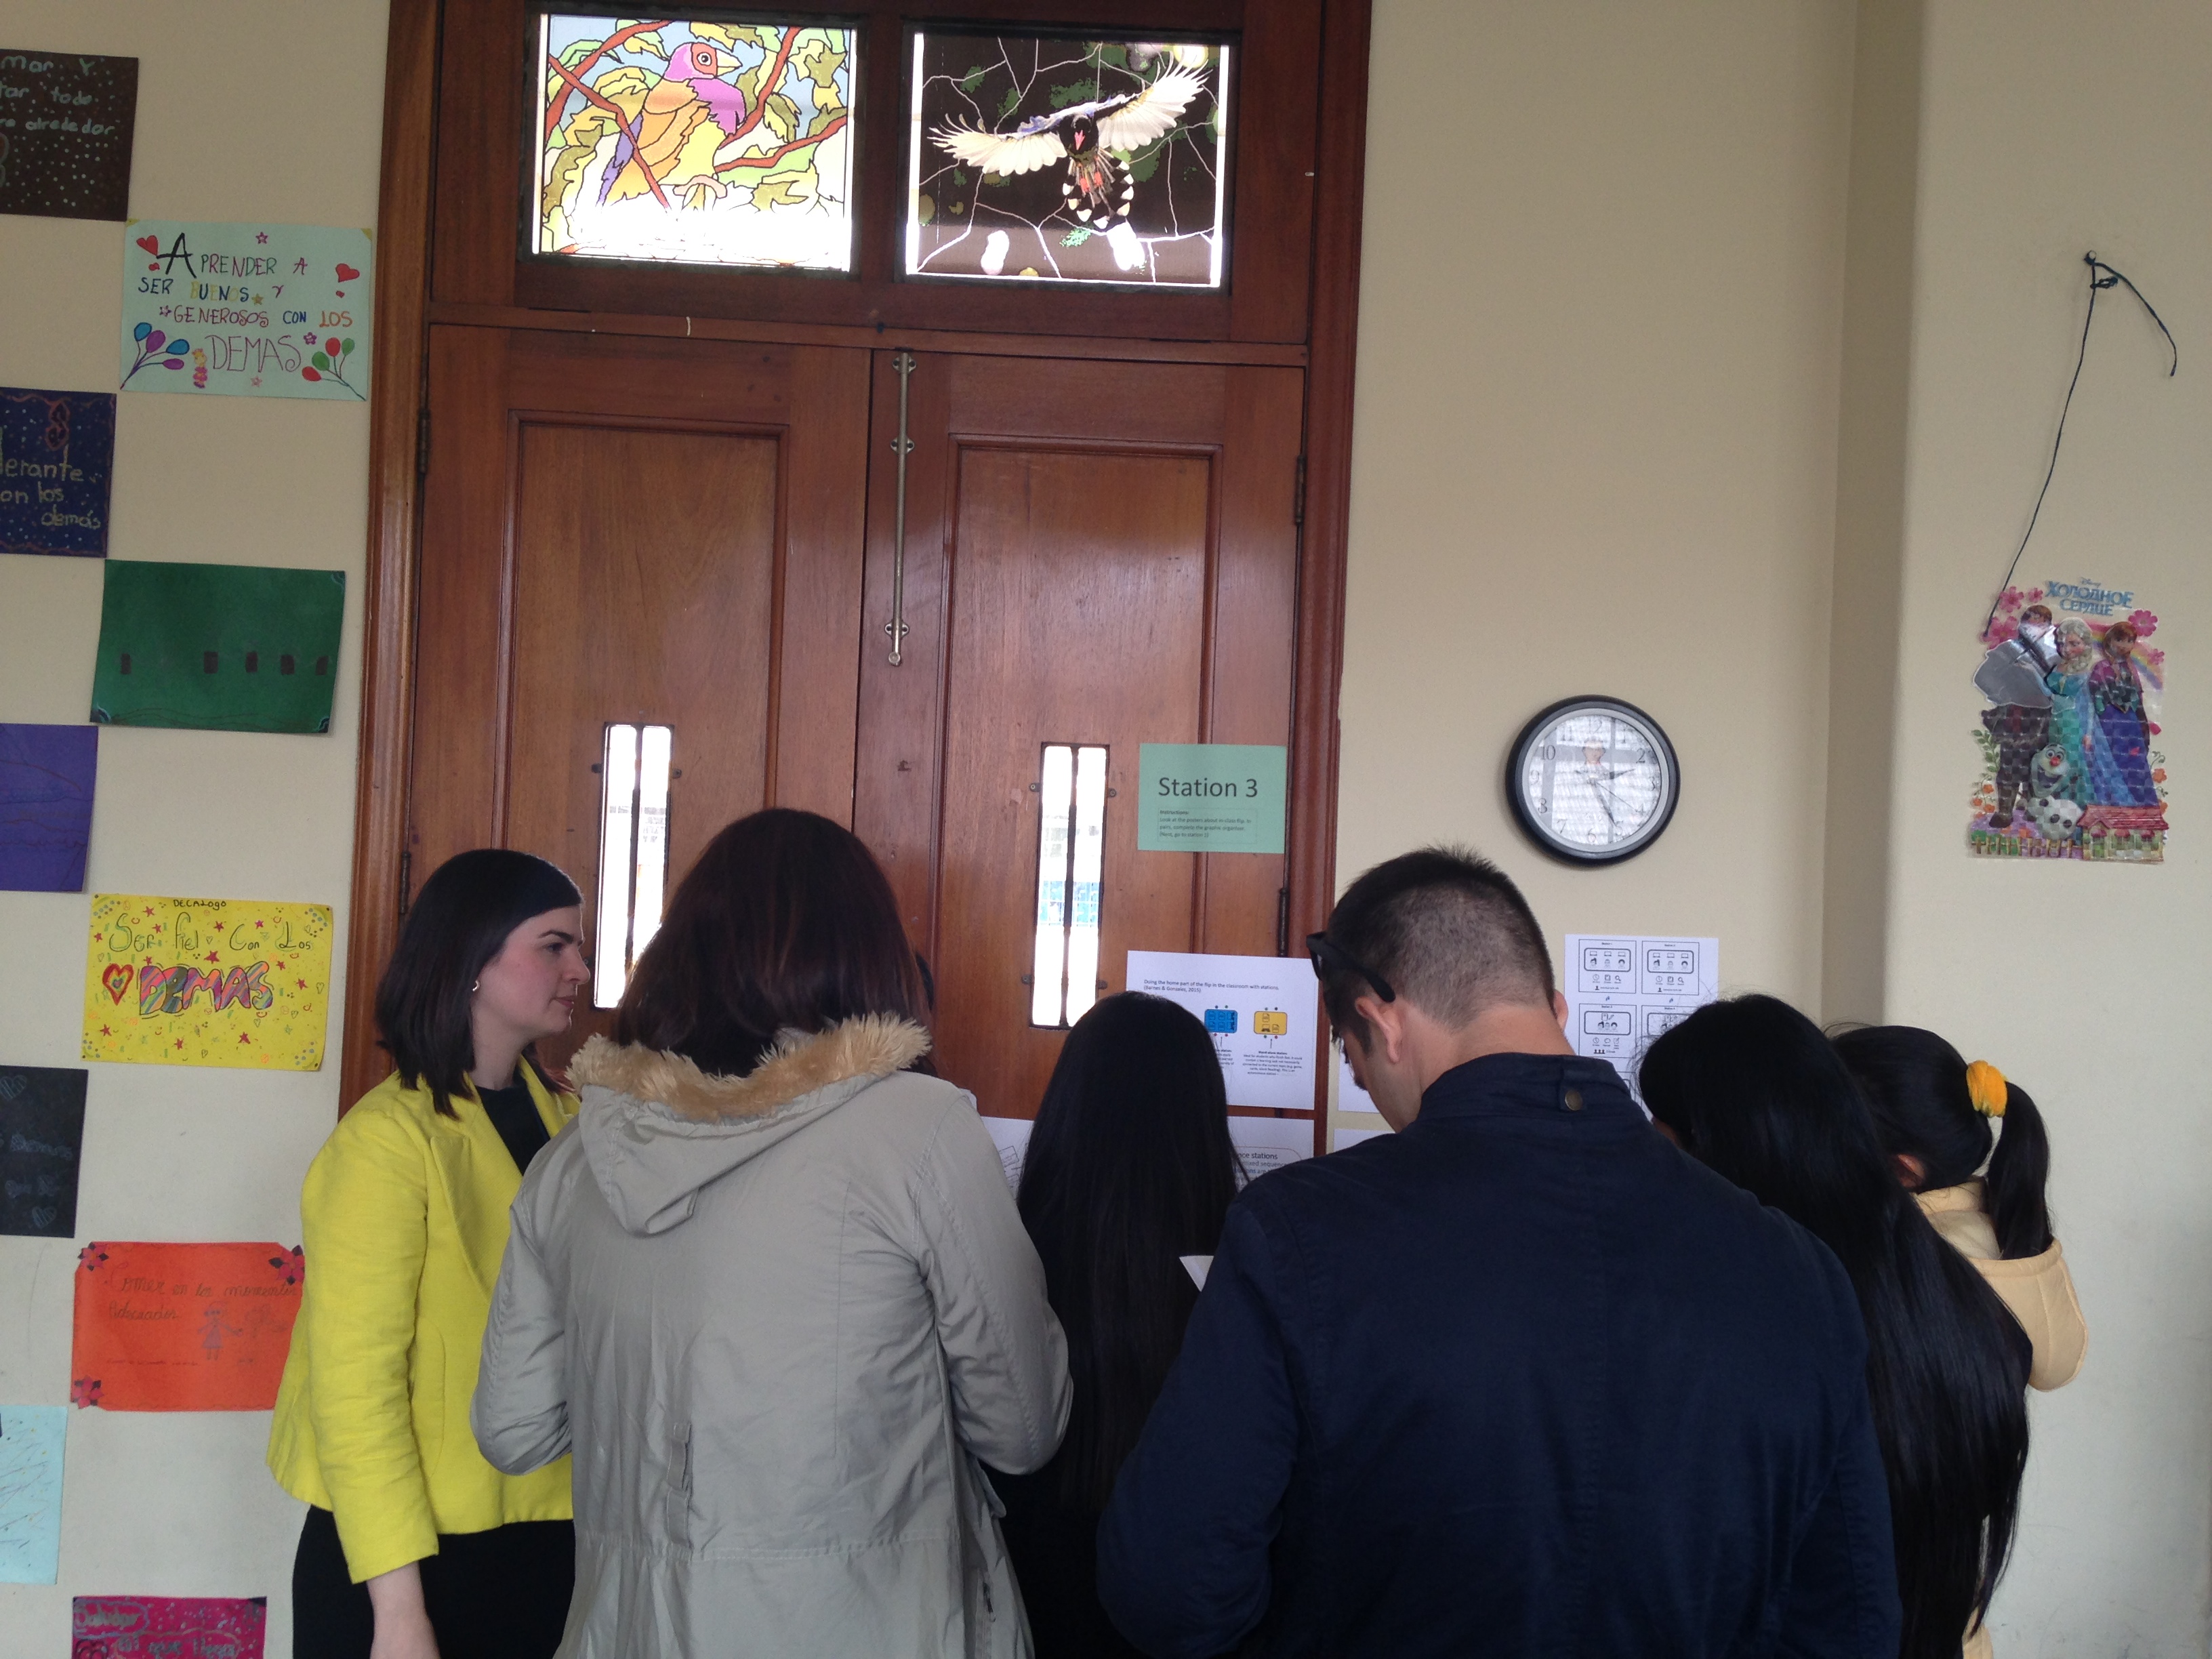
Station 3 and 4:
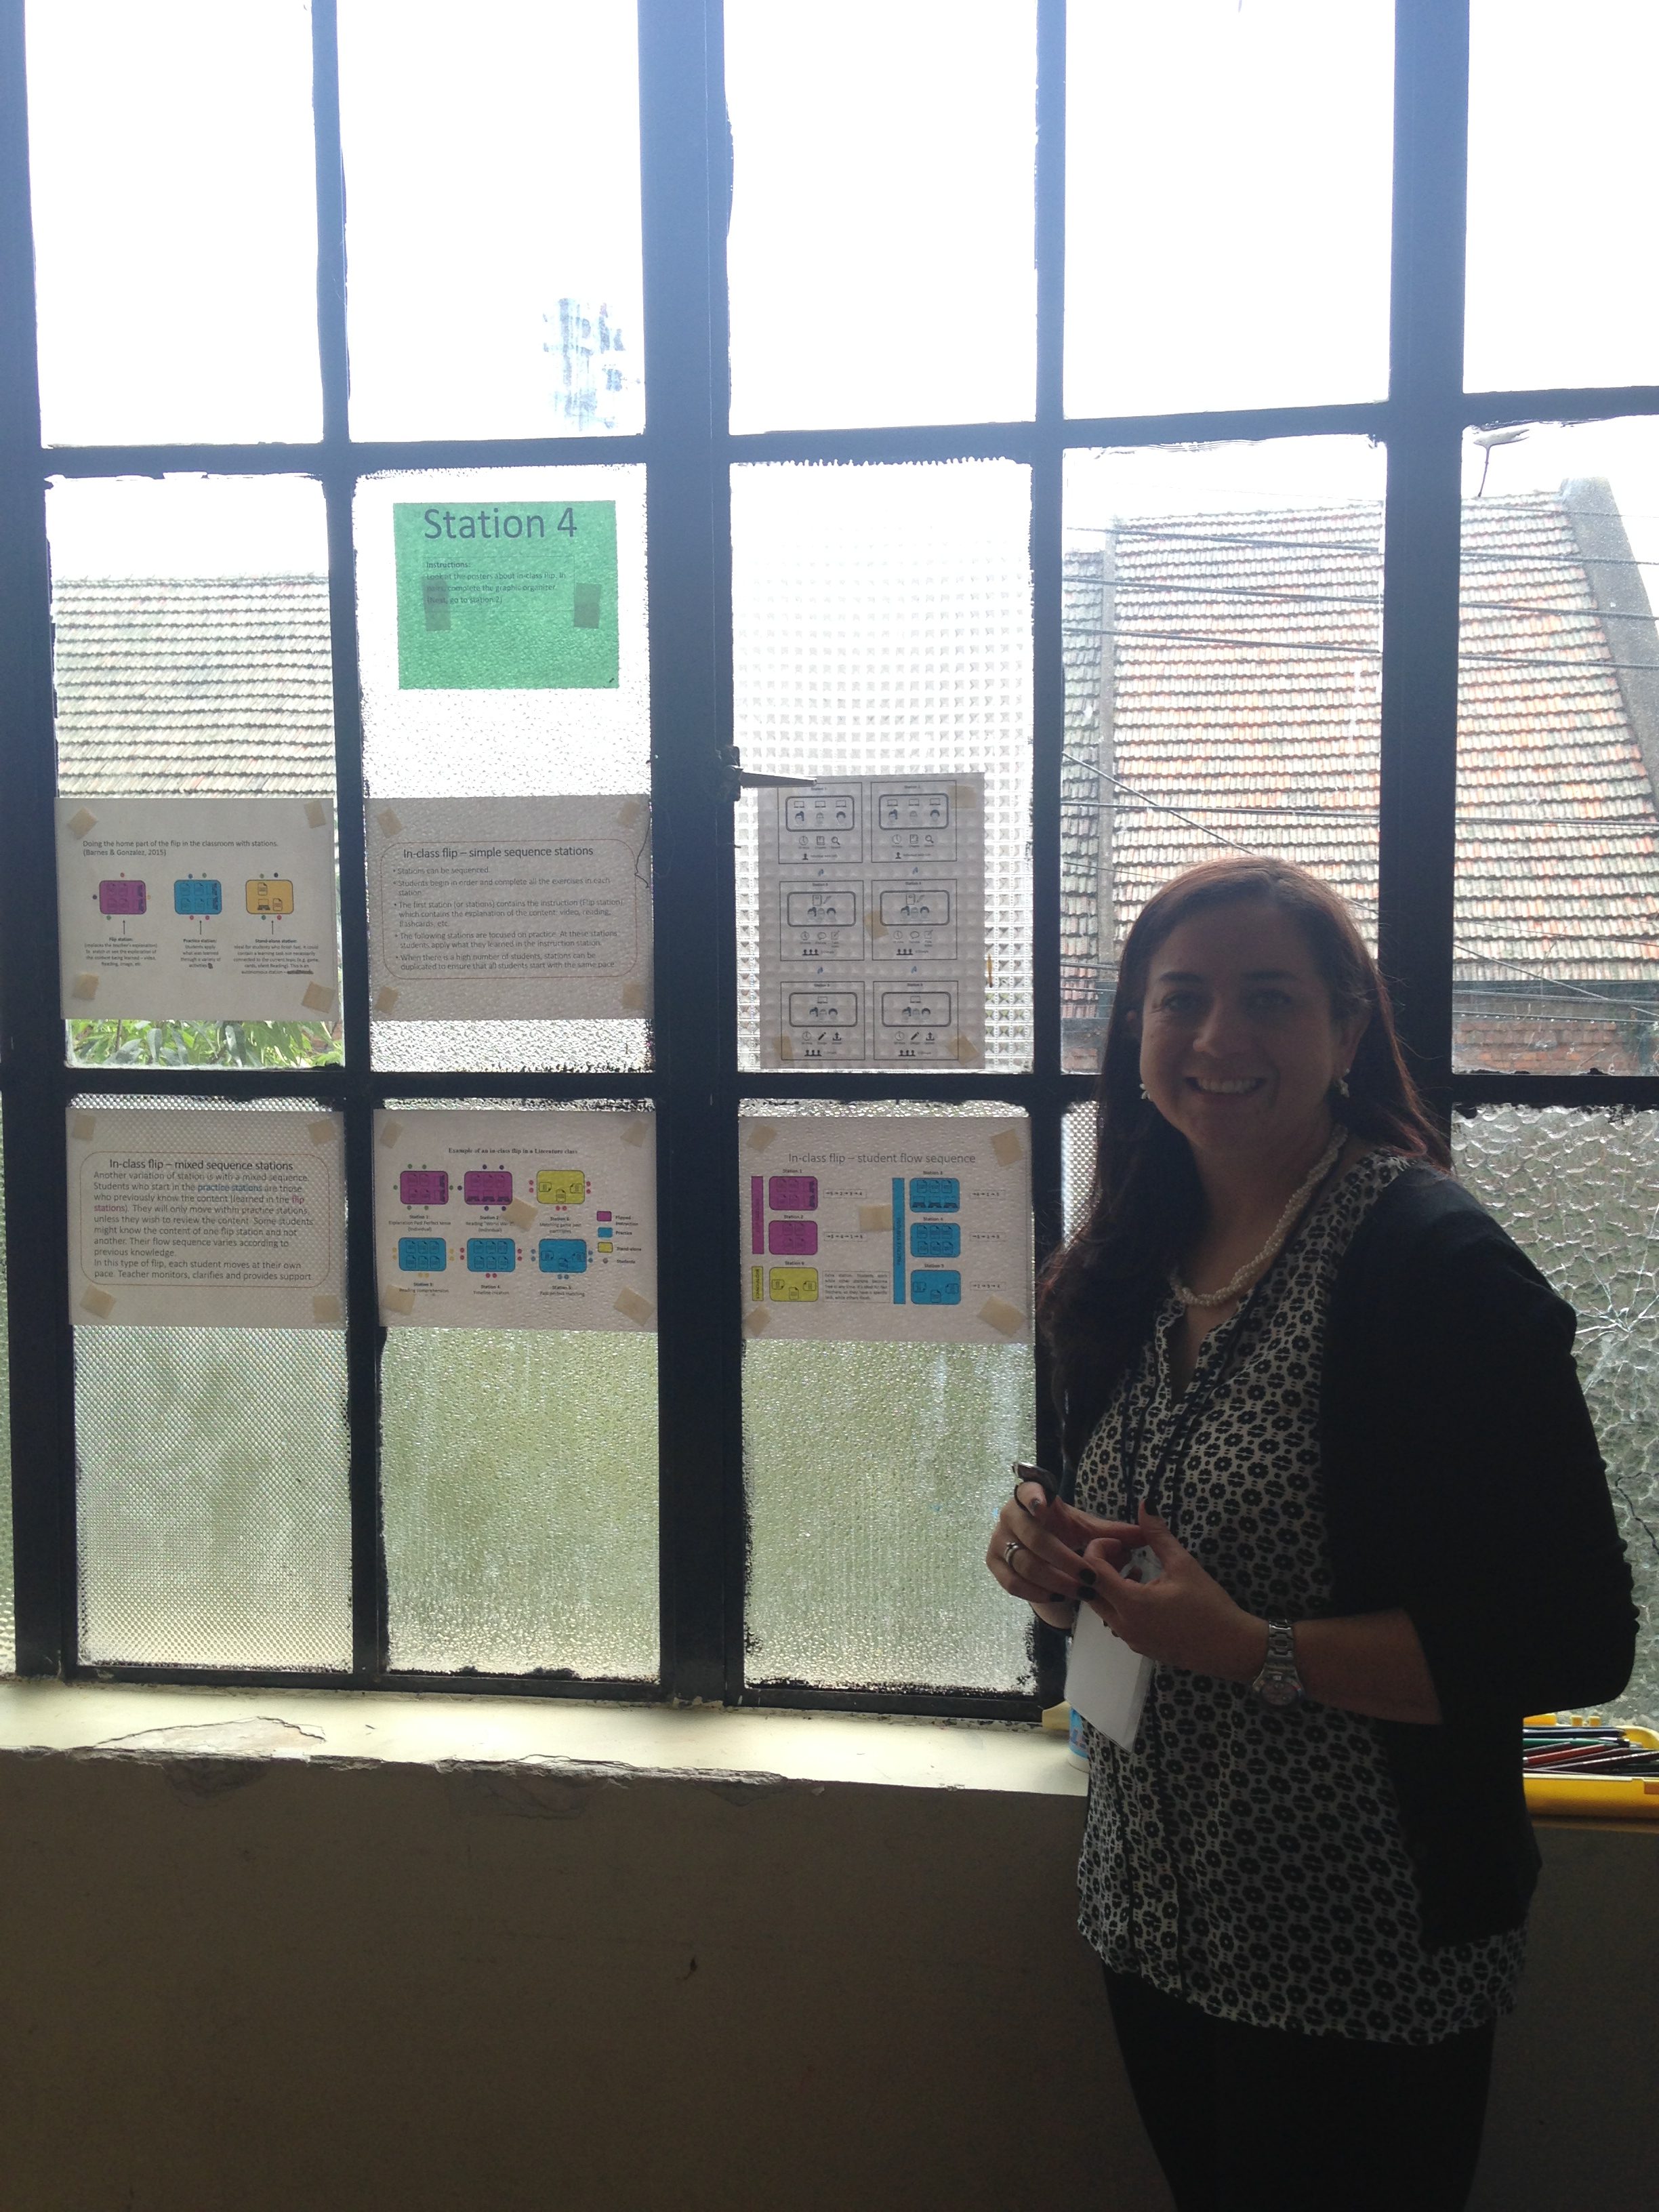
In this station participants were asked to read the definition and examples of in-class flip through posters created by Martha while they filled out a graphic_organizer.
The reason we decided to have two stations of each was in case we would have 30 participants, in which case 7 to 8 participants would work in each one of the duplicated stations.
The Planning Process
Carolina’s plan:
For stations 1 and 2 I created a video using a basic Powerpoint slideshow and turning it into a screencast using Screencast-o-matic.com. The video was almost 9 minutes long and it included all the information teachers needed to understand flipped learning at a basic level. I also created a worksheet for teachers to fill in as they watched. The worksheet contained a couple of charts (basic Smartart Graphics from Office) for teachers to take notes on particular topics from the video like the history of the term and the 4 pillars of flipped learning. It also included a section for them to write questions that arose regarding any of the topics presented in the video.
One day before the presentation, we found out we wouldn’t have laptops available for teachers, so we couldn’t show the video in individual laptops as we had initially planned. For this reason, we decided to create a shortlink for the video (using Bit.ly) and a QR code for teachers with a data plan to scan it and access the video from their smartphones. Even though there was a small glitch with the shortlink (someone else had picked the same one), teachers could still access the video and work on the handout during the session.
Martha’s plan
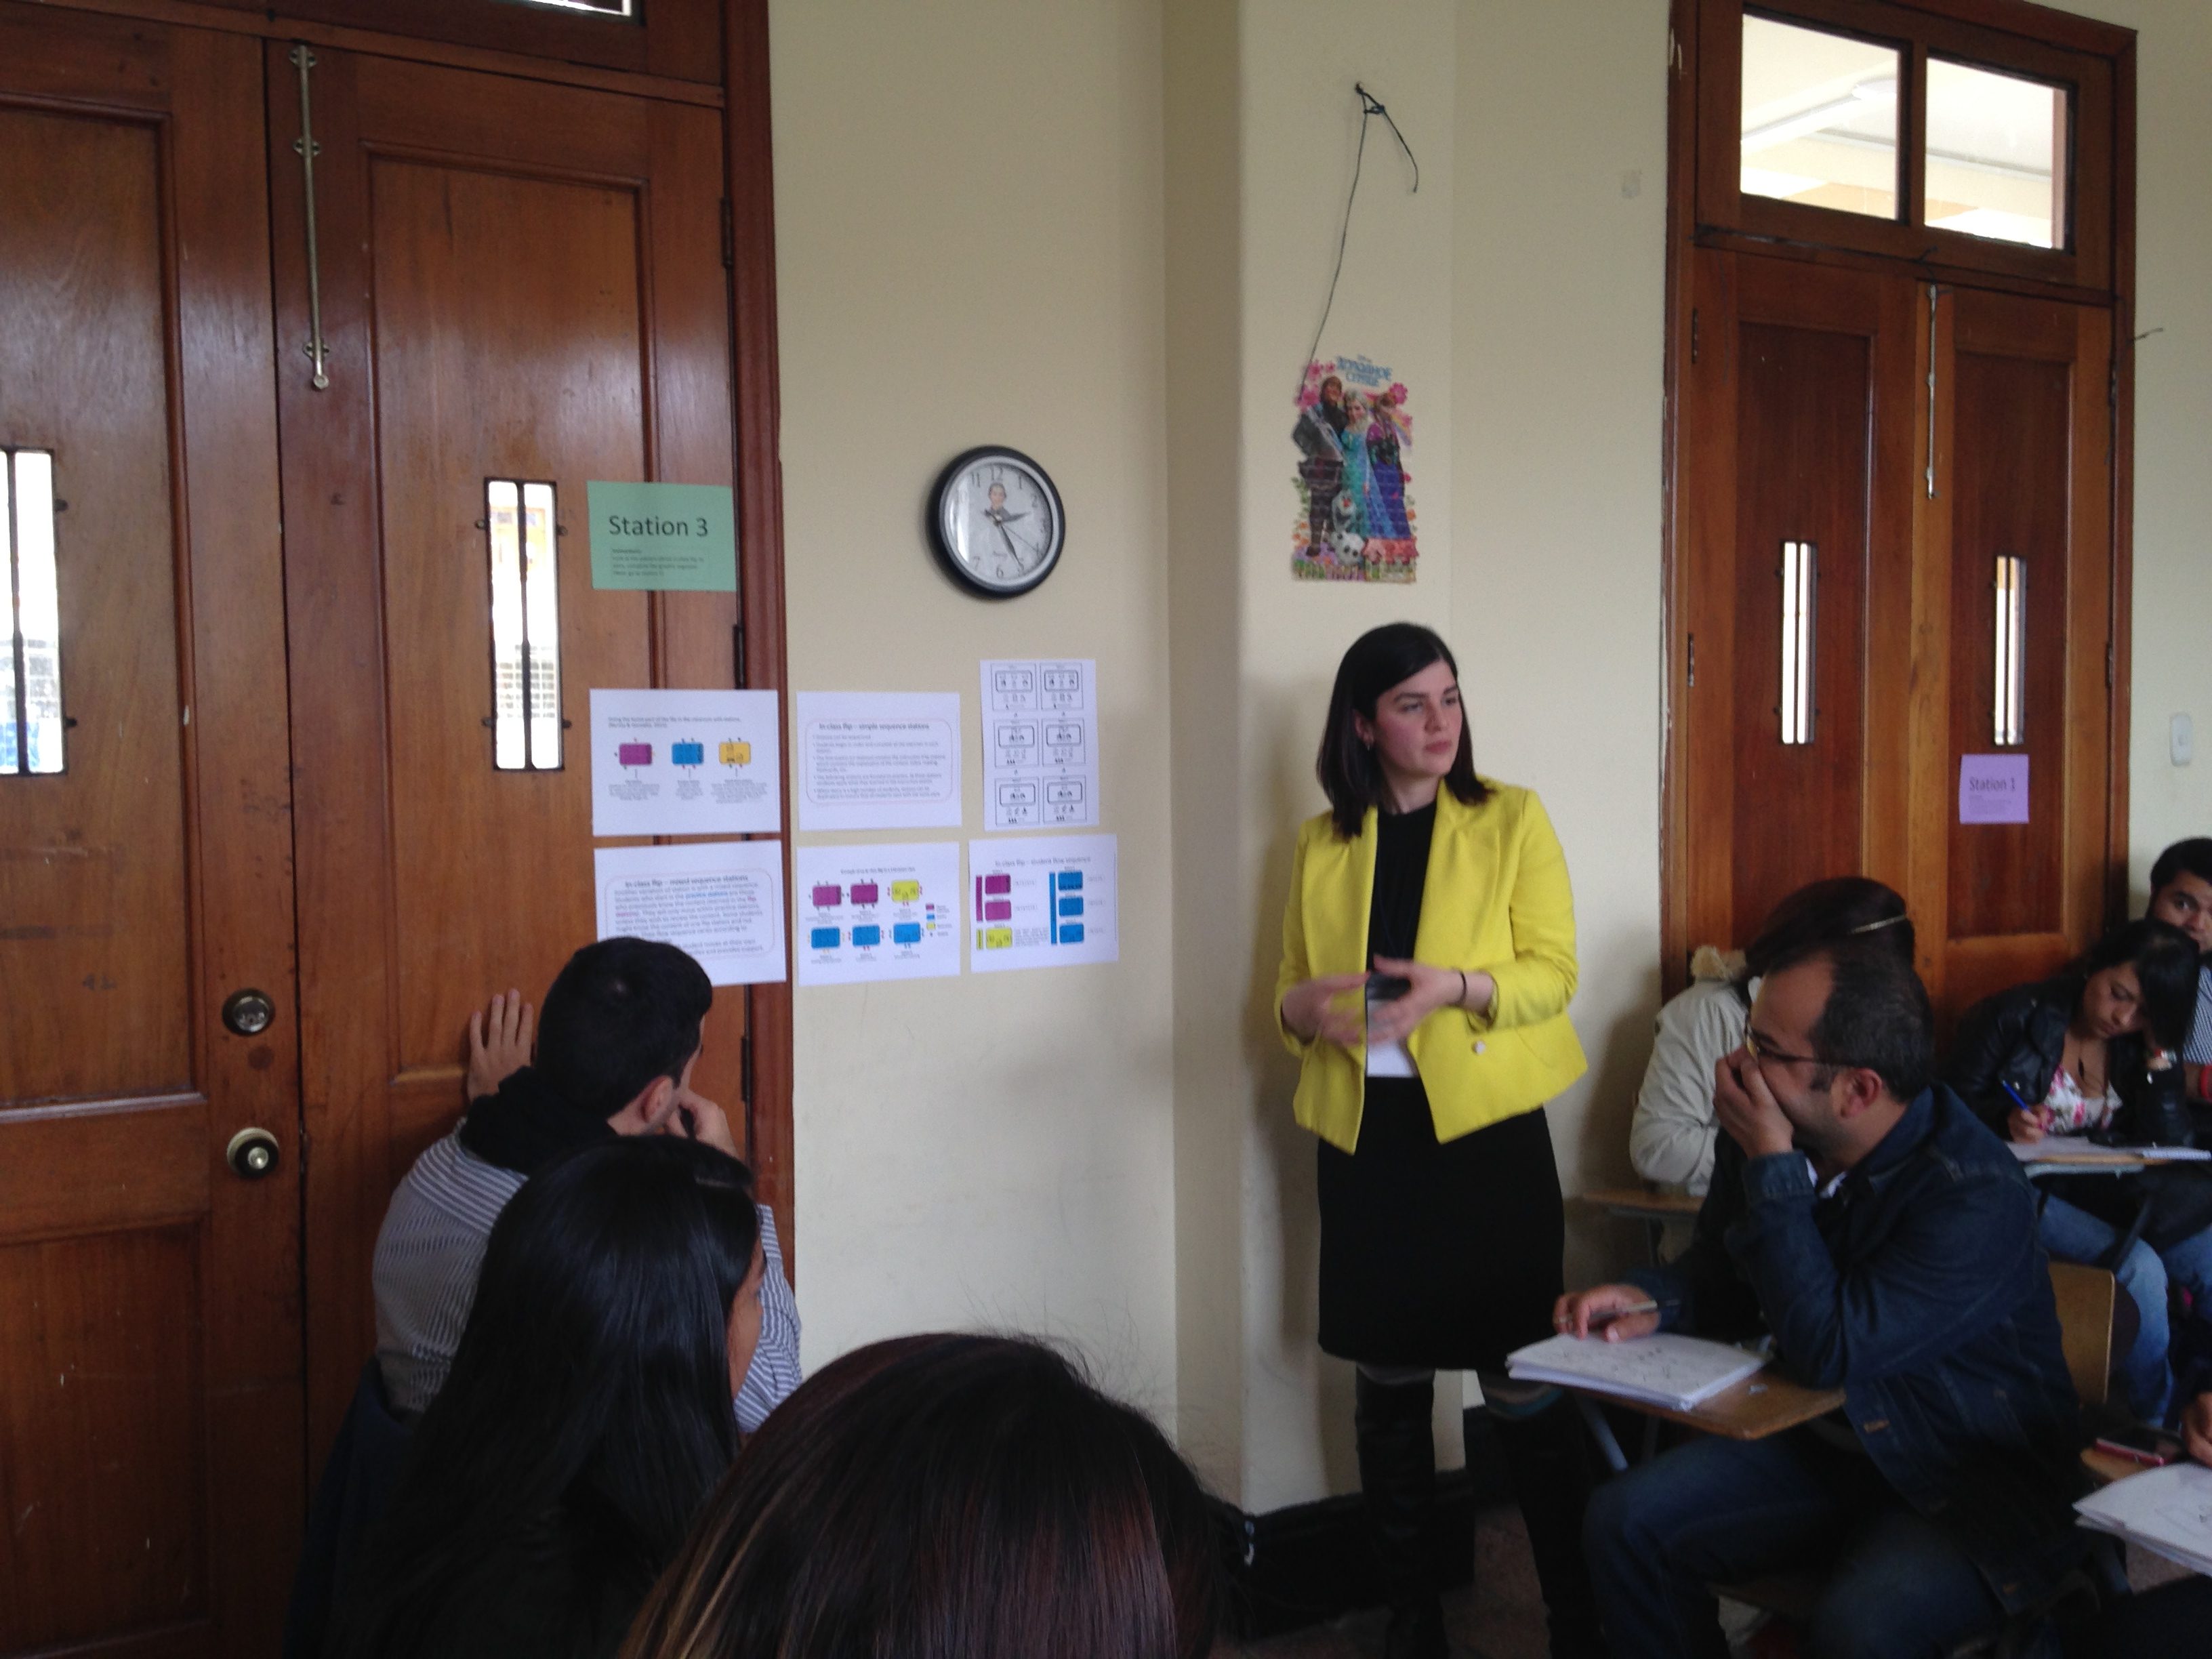
For station 3 and 4, I decided to show the explanation of what an in-class flip was, which included: types of flips within this approach, examples, and how student flow works. Furthermore, I considered a graphic organizer for participants to complete, which would allow me to visualize how well they understood what this type of flip implied. In order to make the poster explanations, I used powerpoint and then converted the slides into images. This was done through screen shots. For the graphic organizer design, I used draw.io and exported the image as a pdf ready to print. It’s a great tool and easy to use and export. I then printed 30 copies and 2 sets of posters, one for each station. I also printed 30 copies of an in-class flip lesson plan layout and an example of a class I planned in this format for participants to be able to see an in-class flip with secondary students in an English class.
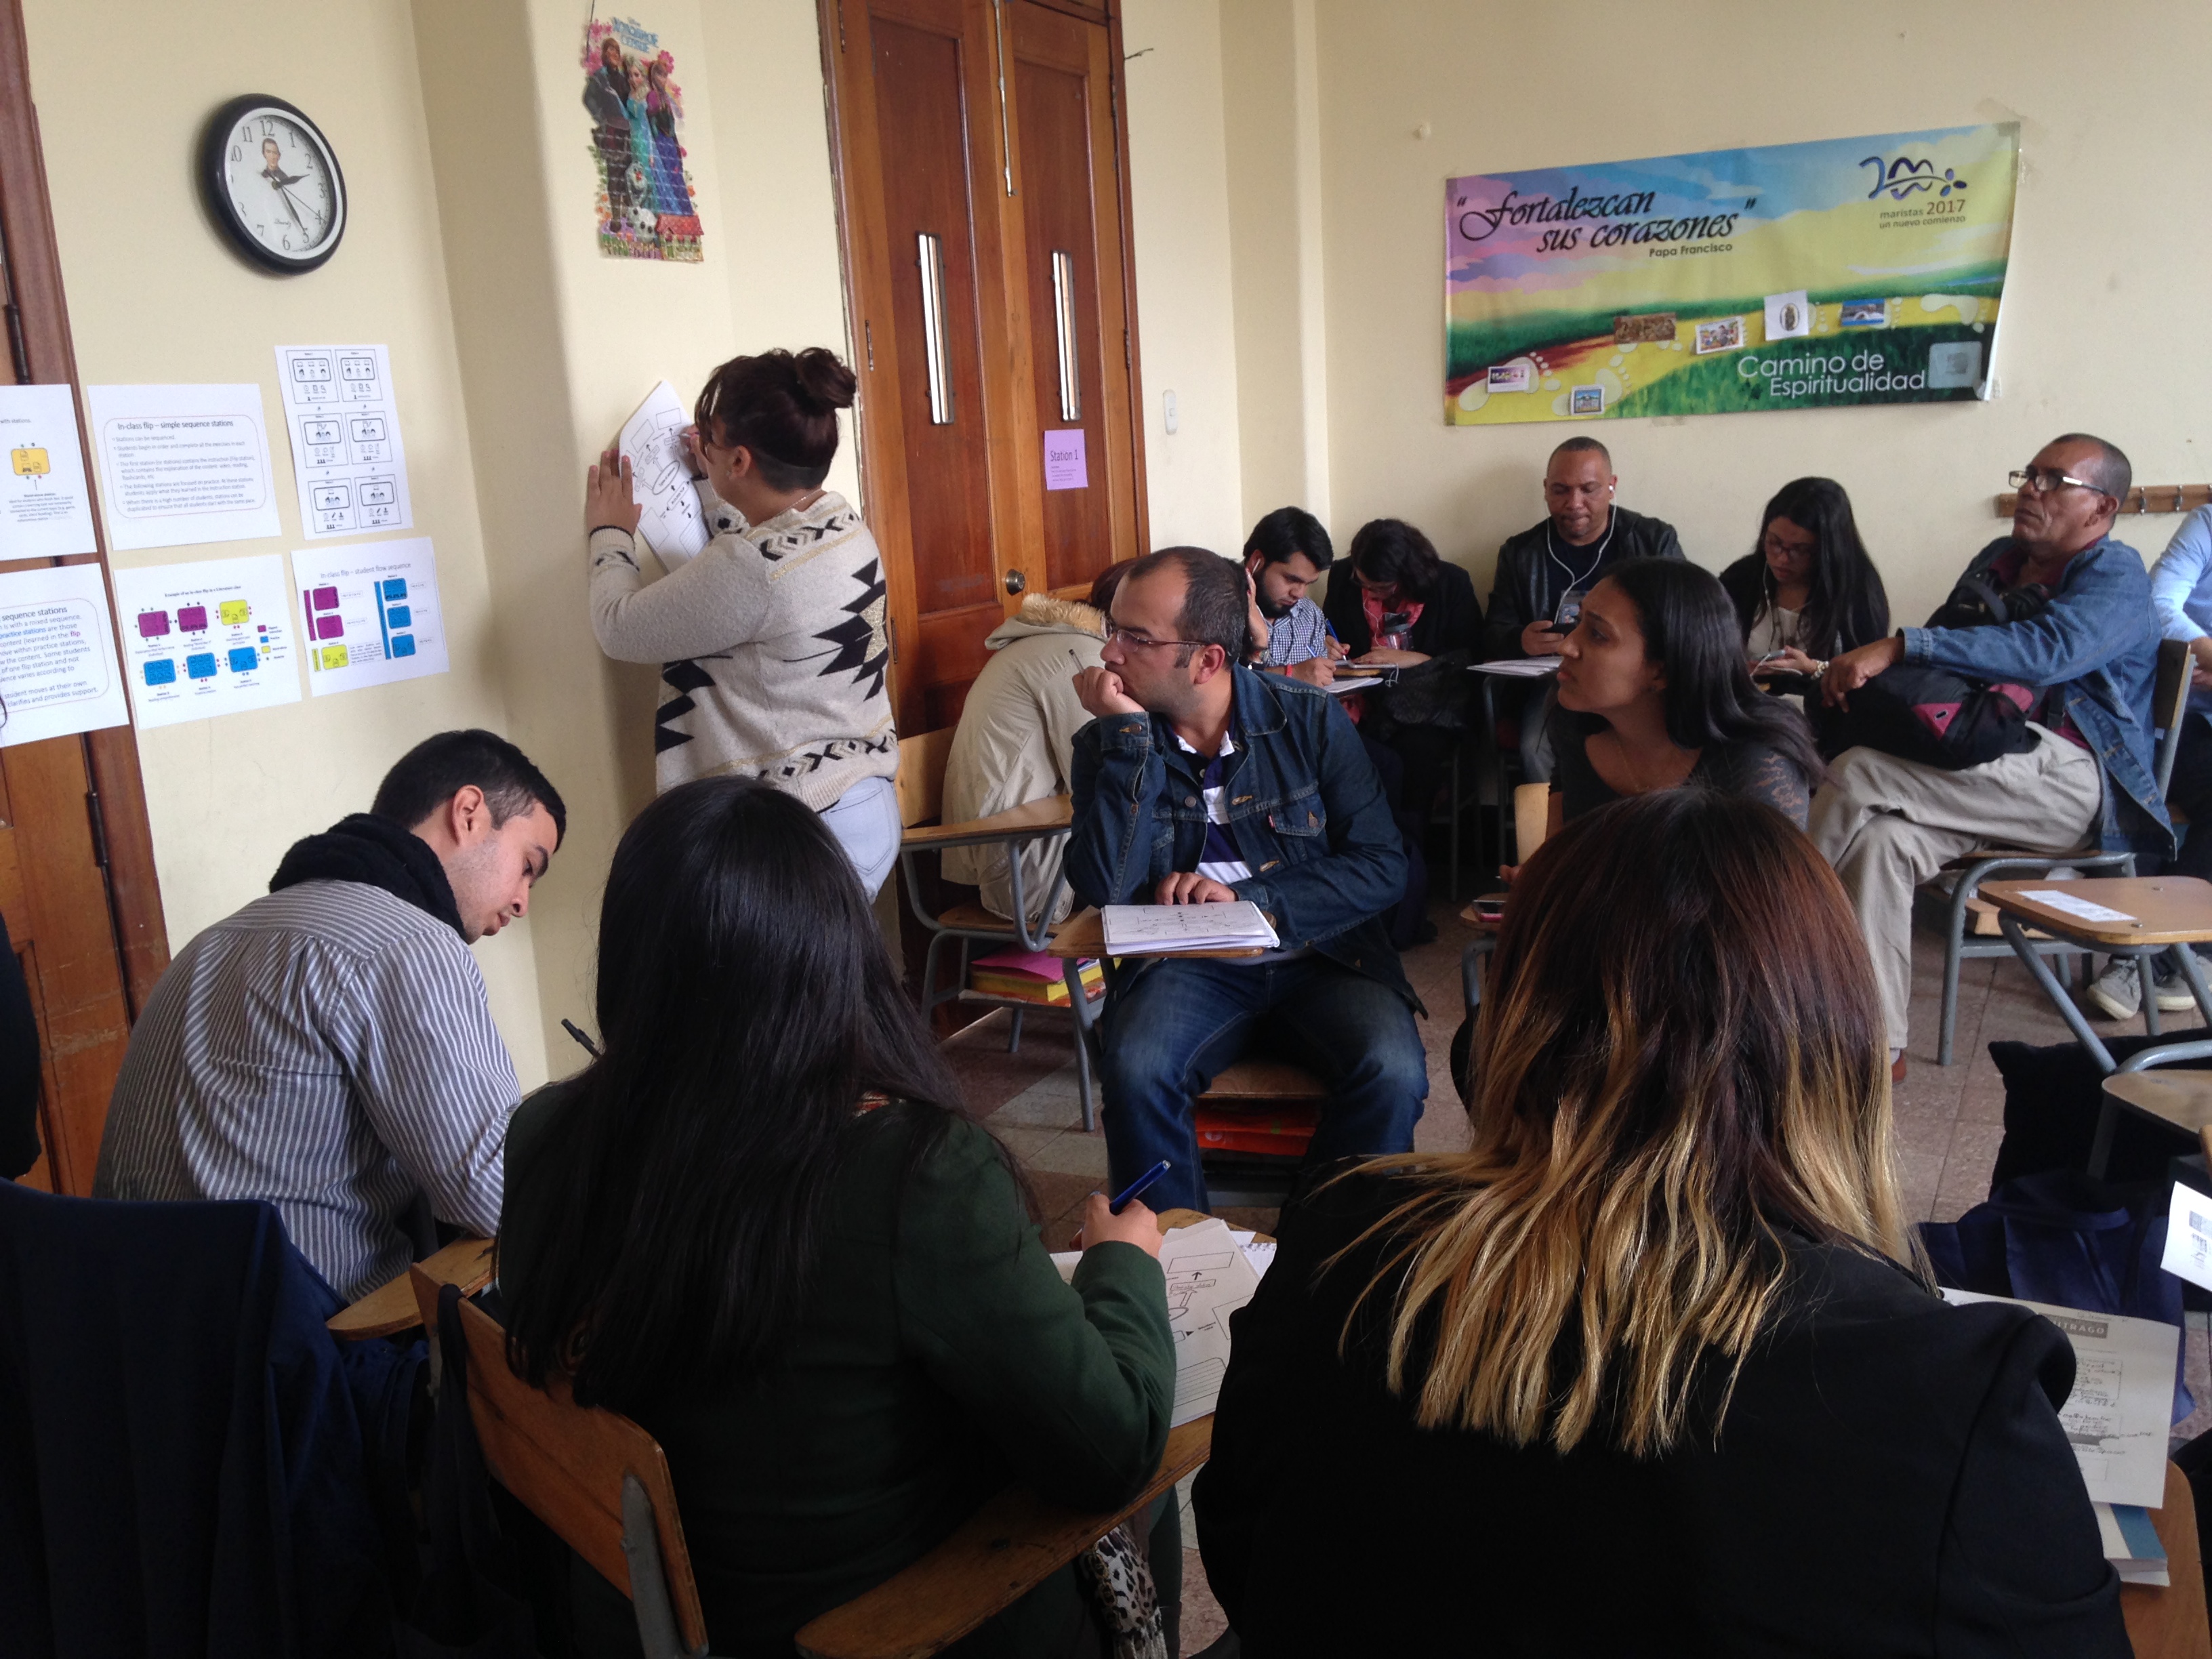
Preparing the Workshop Space
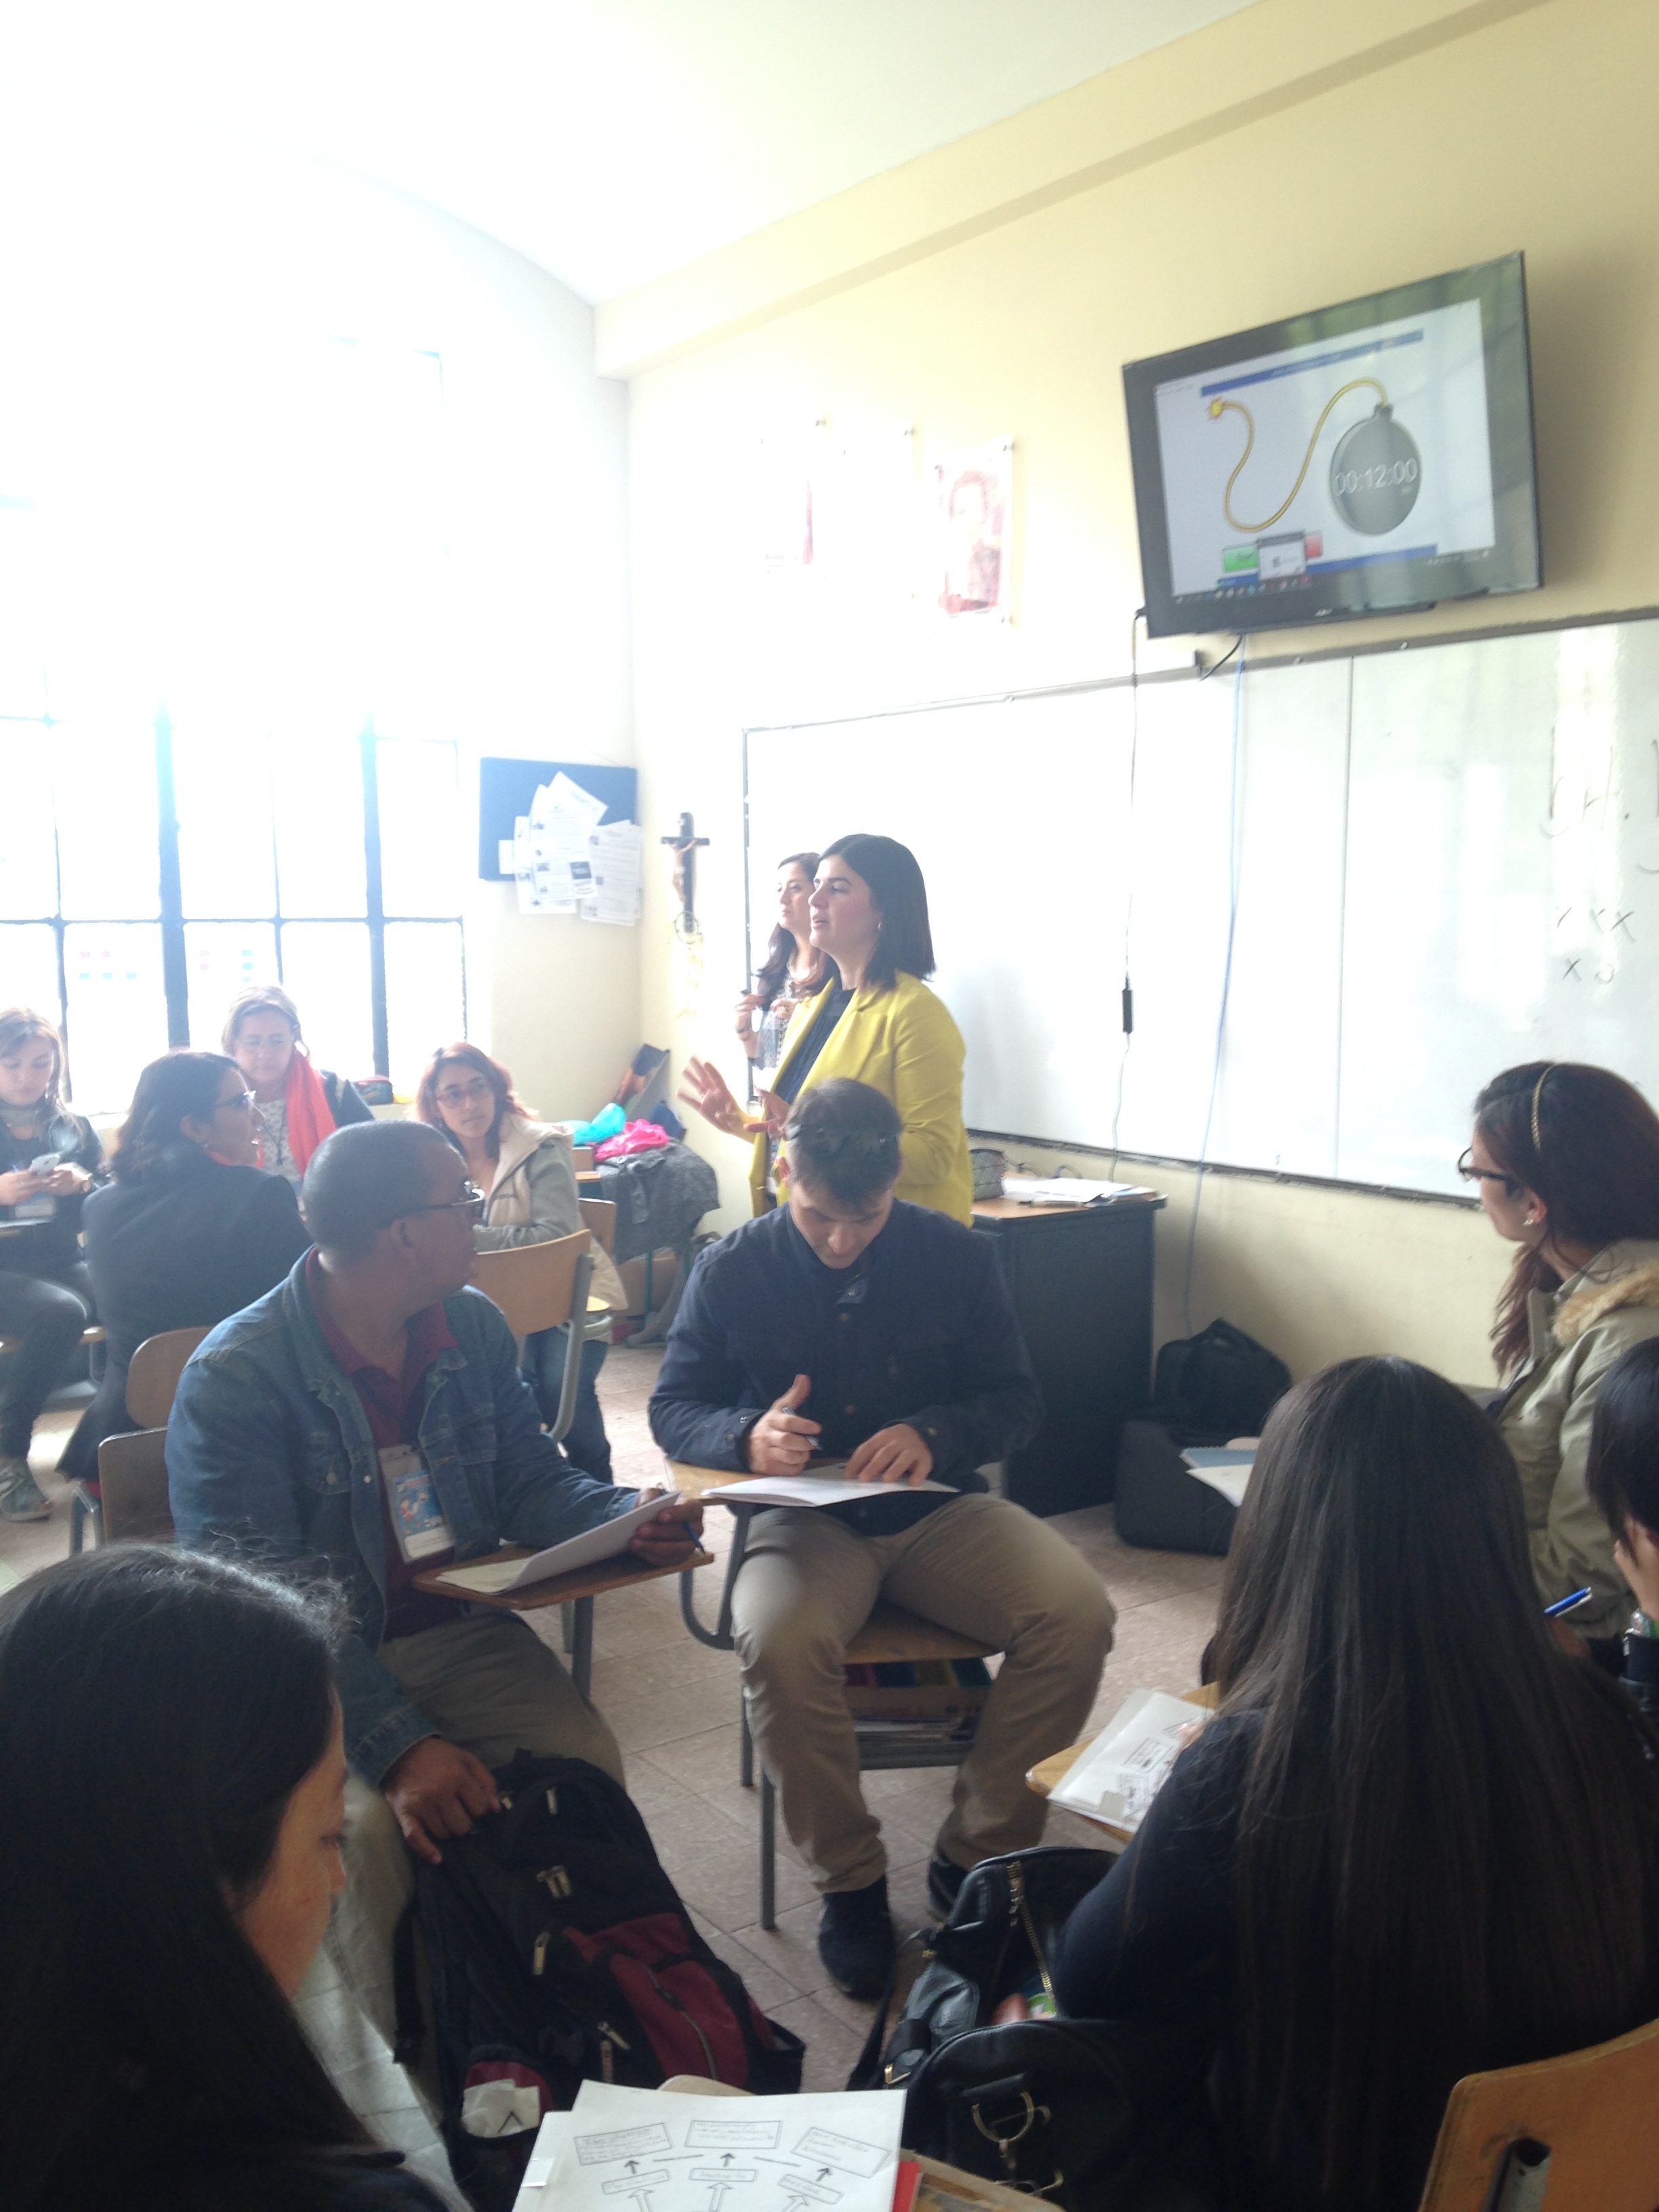
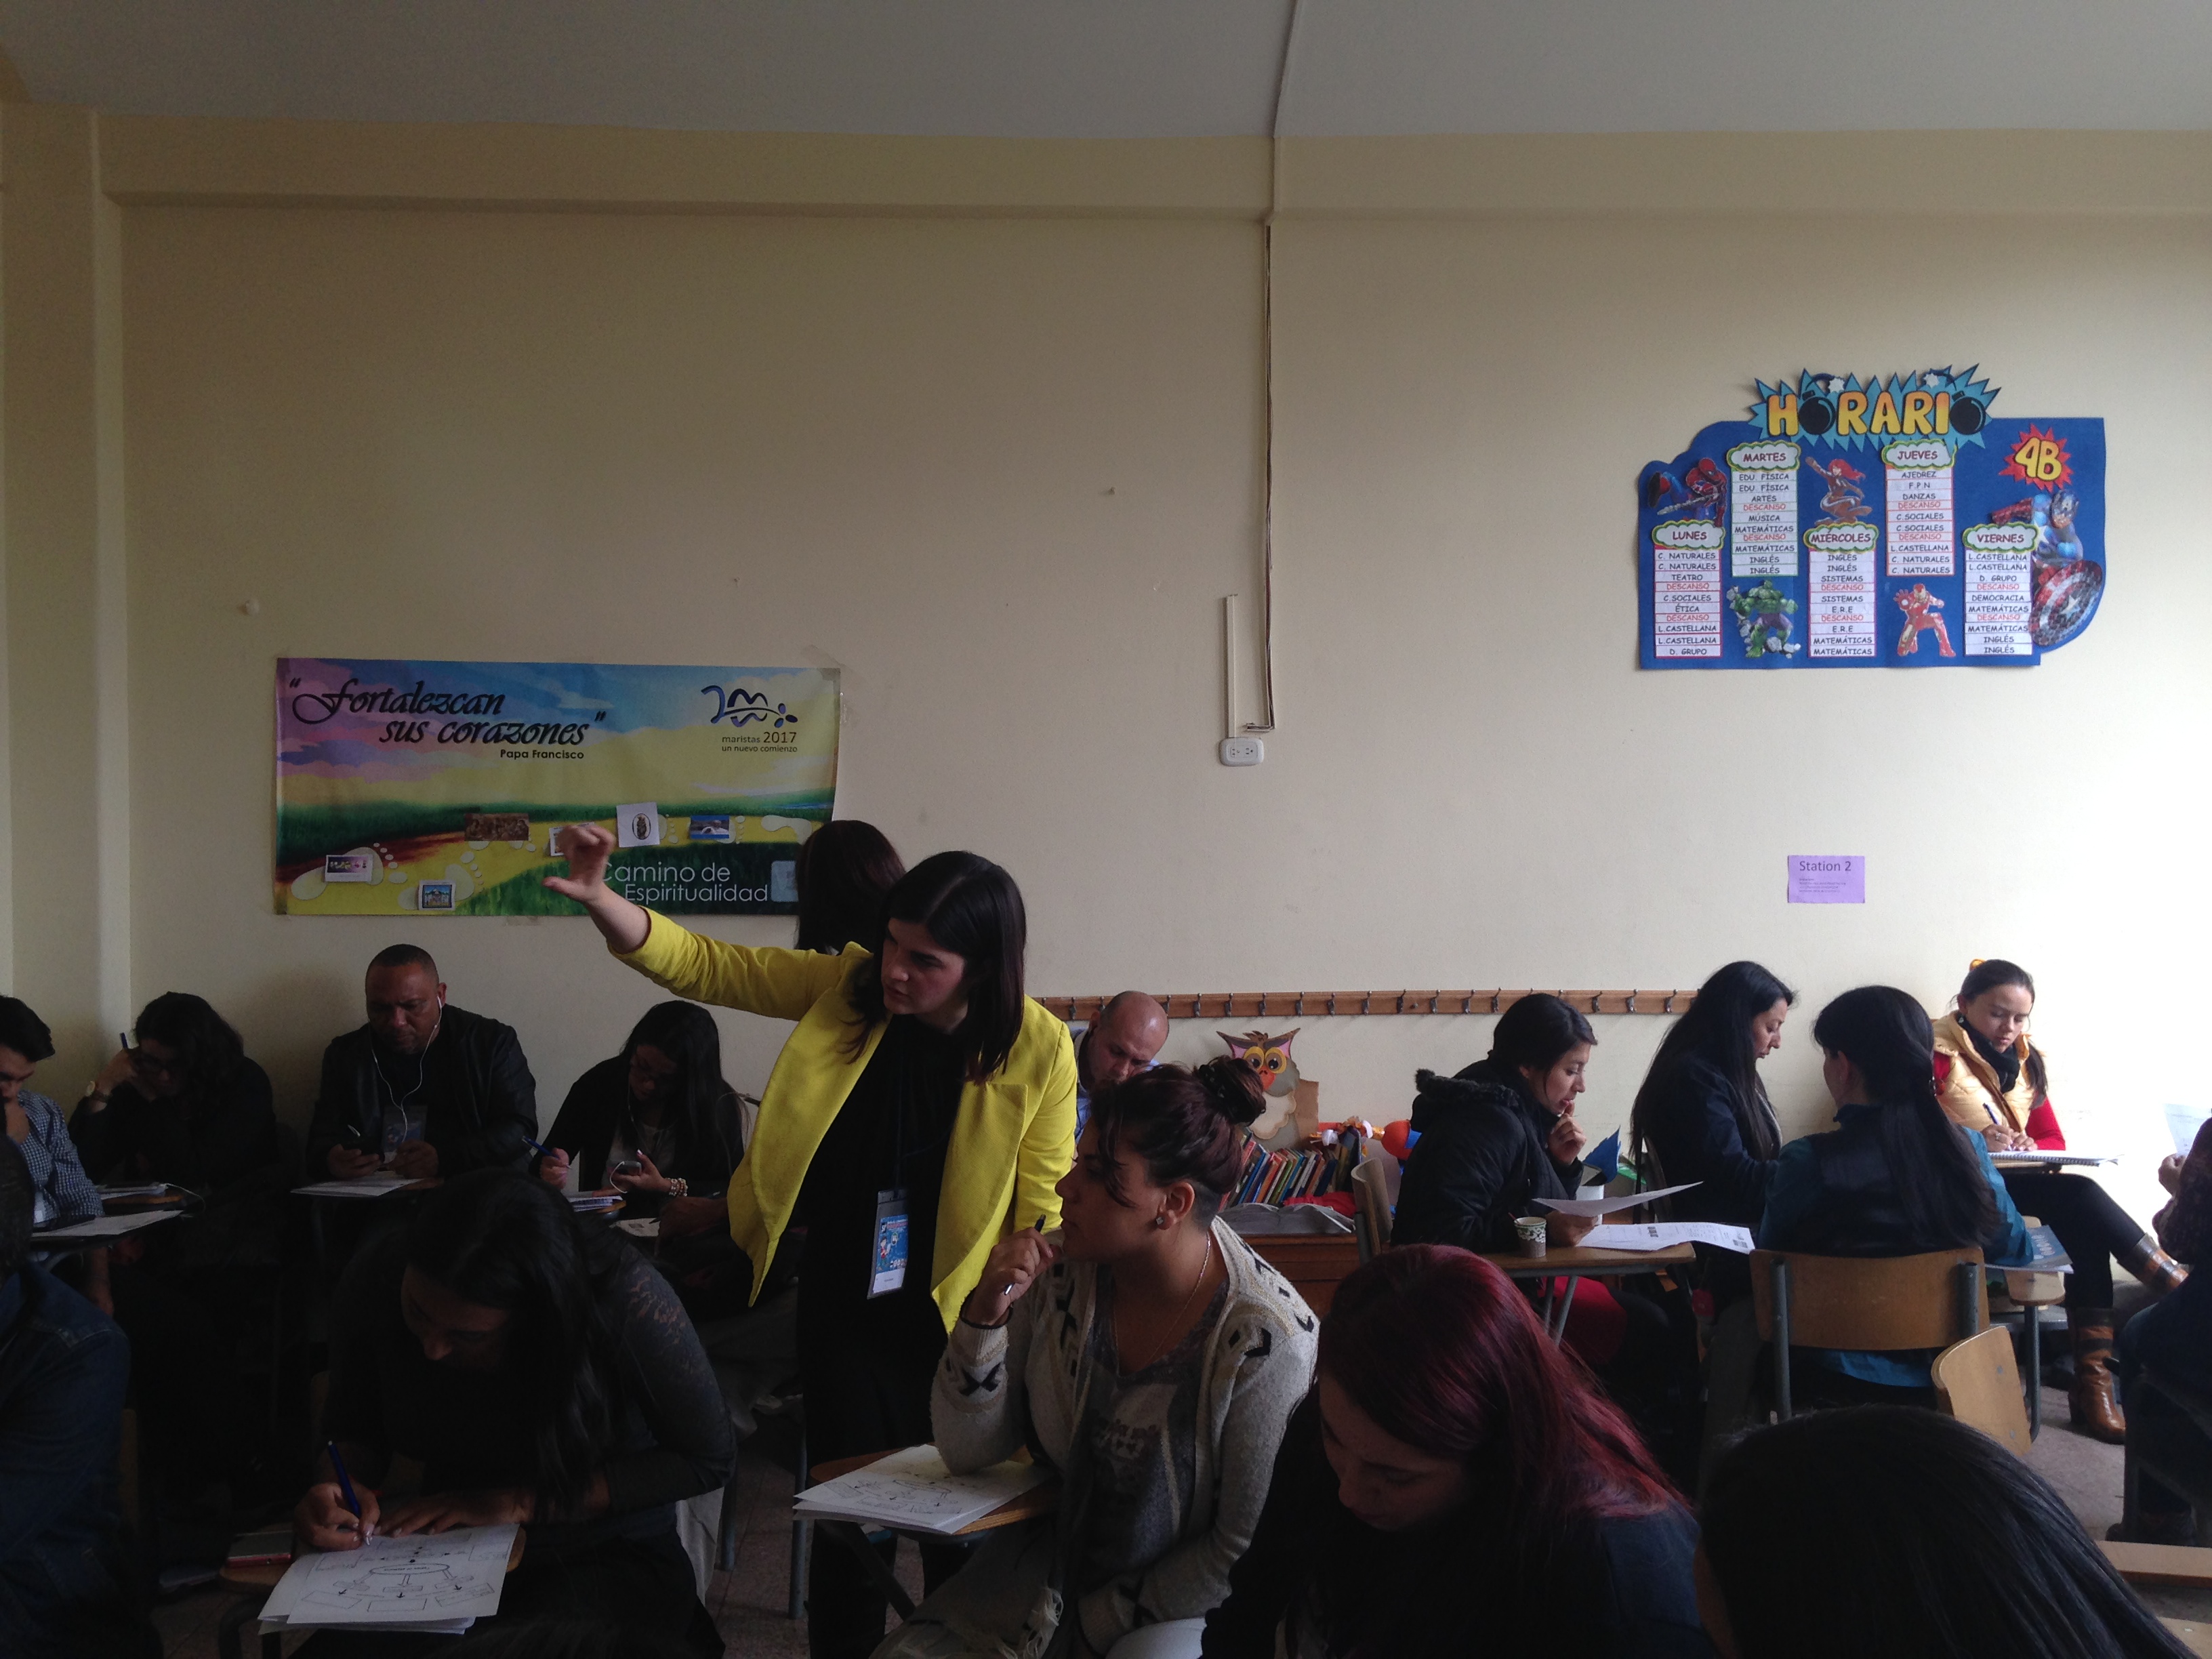
Since we hadn’t seen the classroom we would be working in, we went before our session and sorted out the desks in order to have a station in each corner of the classroom. We made sure attendees would be able to circulate and so we could monitor their work. We also prepared 30 folders with the worksheets and left one one each desk. We were a little nervous because we knew the session would start with a little chaos as attendees got the hang of the instructions and dynamic of the flip, but we trusted it would work out well in the end, which it did! Time was our main concern, so we decided we’d time the station work using a chronometer. Having it all set up, it was time to give our in-class flip a try with teachers at the conference.
And…action!
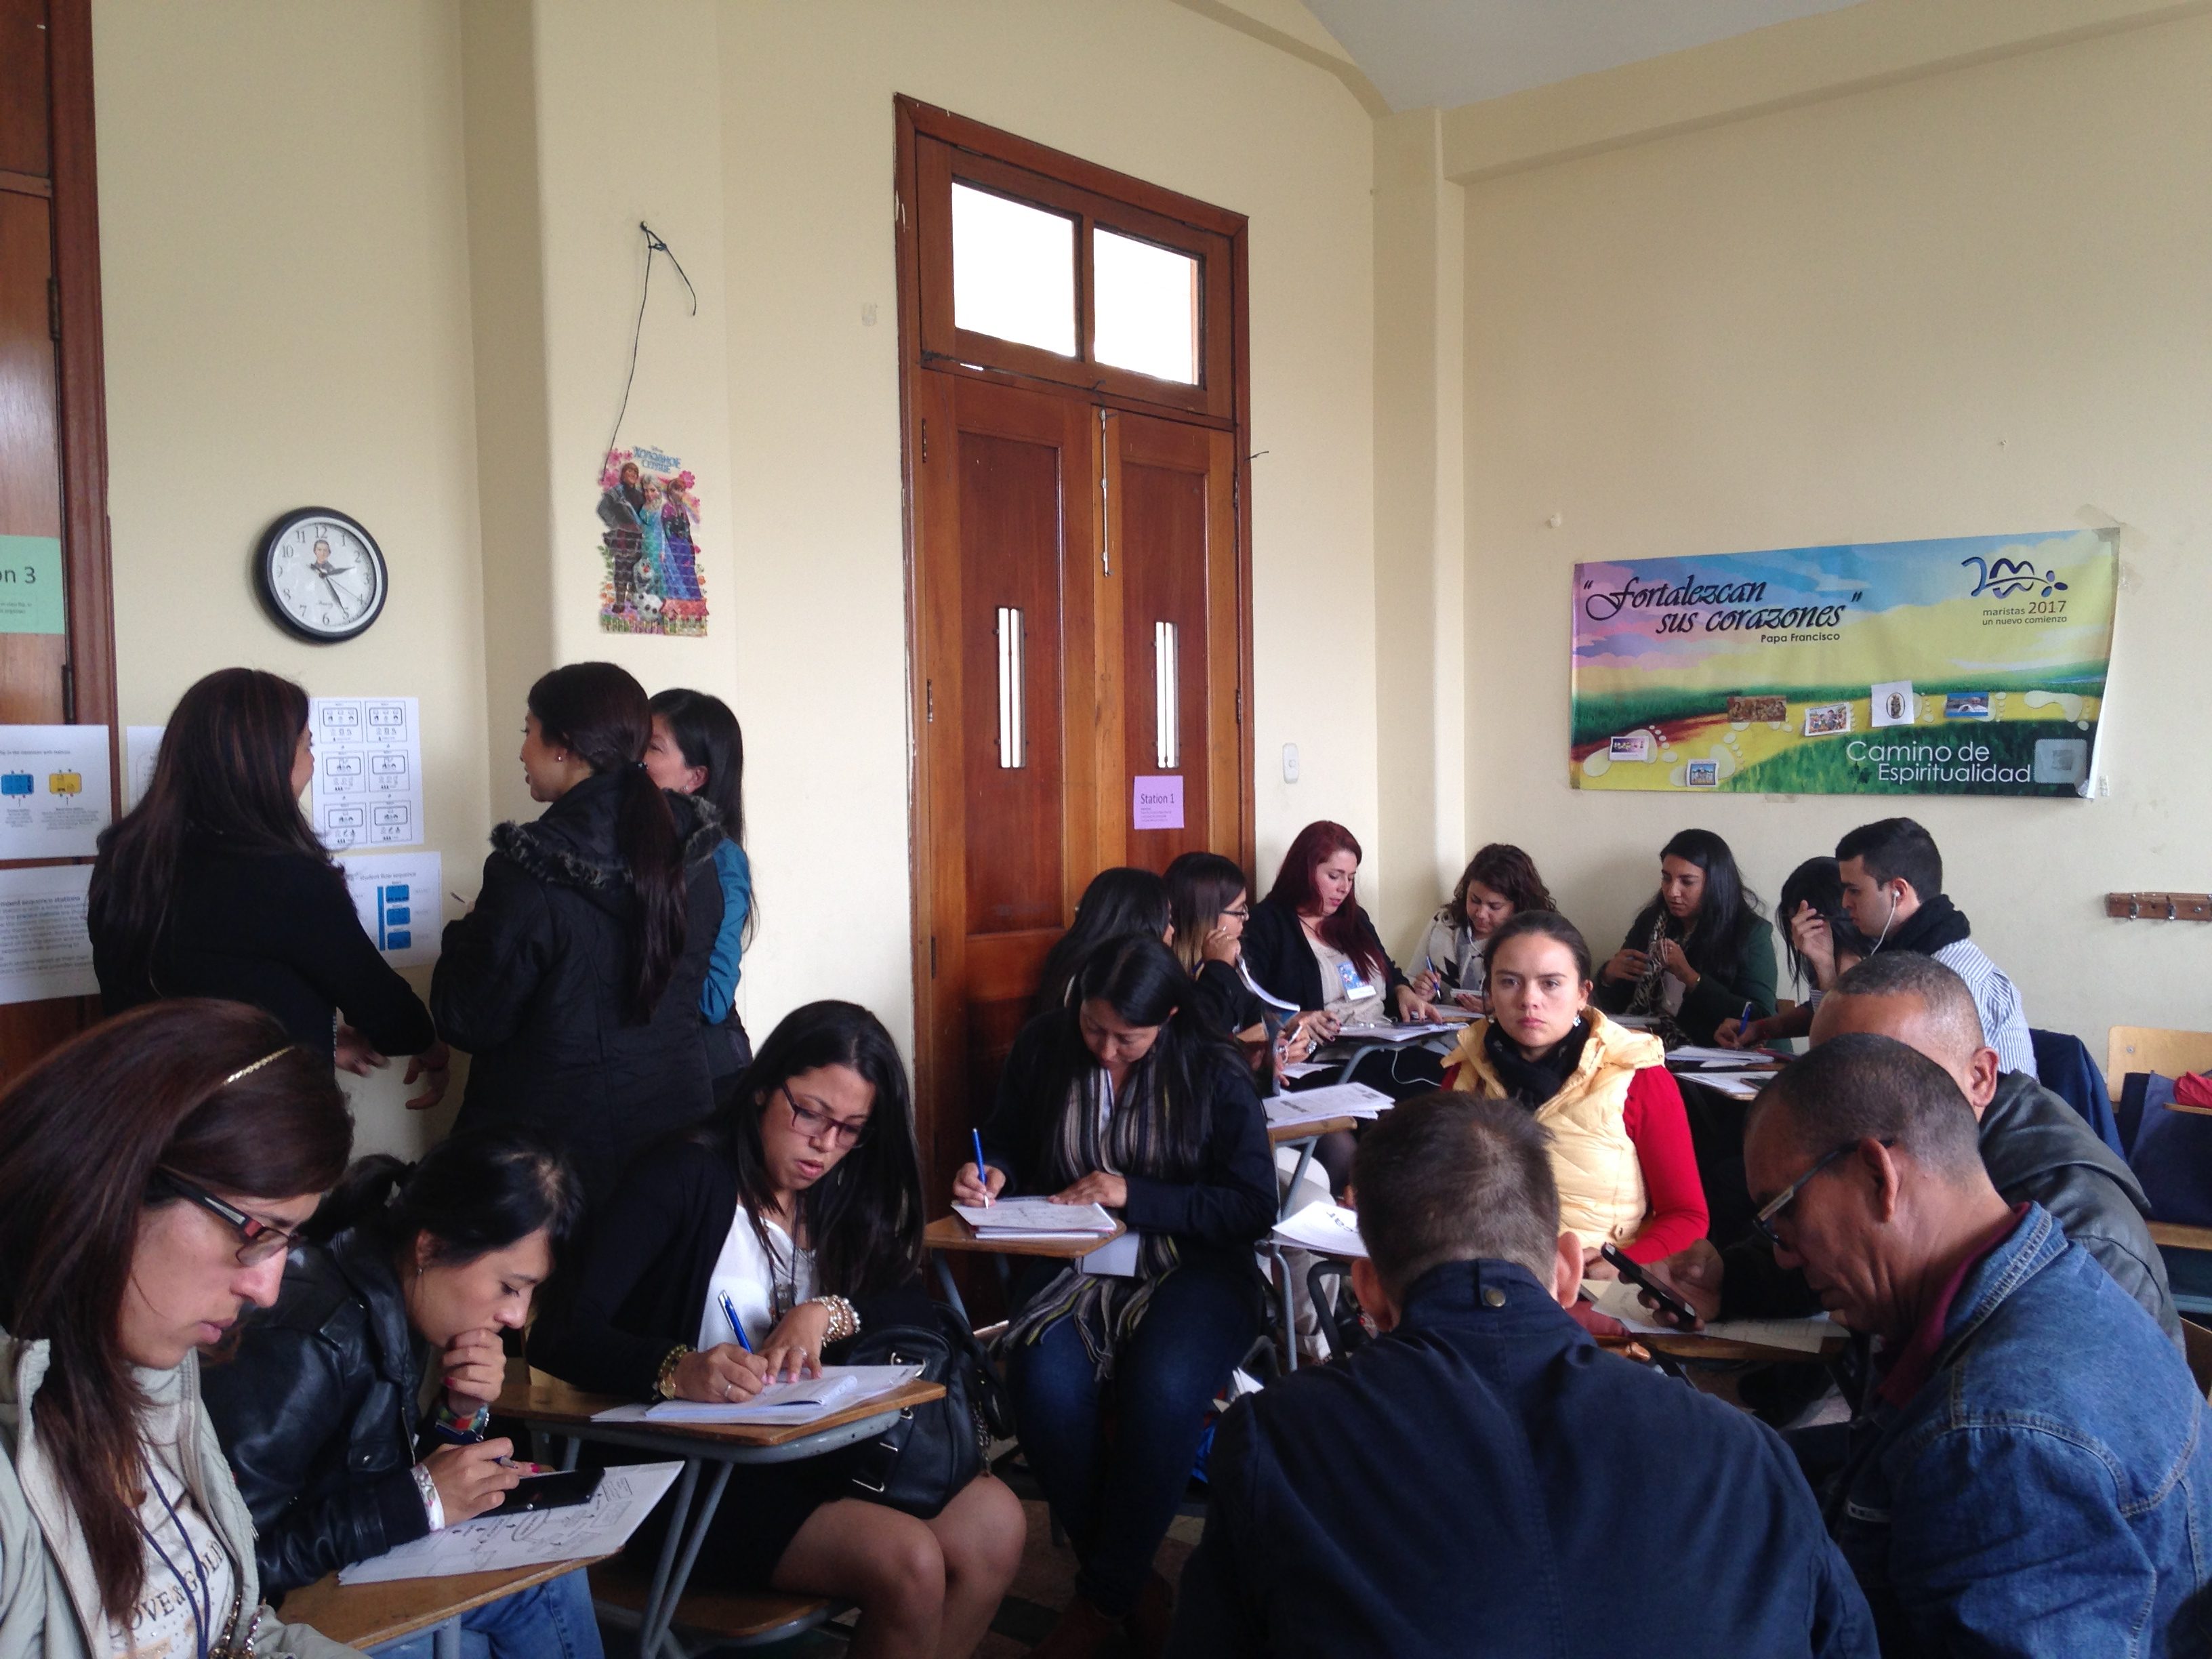
We’re happy to say we had 32 participants from different cities of Colombia attending the session. We even had our fellow in-class flip colleague and friend Kevin Coleman (@ProfeKevin) at the session, who we were delighted to see.
Since we didn’t know what prior knowledge our participants had or which resources they counted on, we started the session by asking how many of them had mobile phones with Internet access and earphones. Many of them did! With this information, we decided to place those who had mobile phones and earphones in stations 1 and 2. However, keeping in mind that not all participants would have their own device, station 2 had a laptop (Martha’s) with a pretty good sound and Carolina lent her smartphone to a couple of participants (just be careful when you do this). Moreover, we made sure there were 8 people in each station. Stations were timed for 12 minutes. When time was up the first time, an alarm sounded and the groups from stations 1 and 2 swapped with groups in stations 3 and 4. During the swap, we both made sure to organize attendees according to the devices they had (in the case of stations 1 and 2) and started the timer again. The switch worked beautifully because everyone knew what they had to do and understood the purpose of each station.
See it for yourself!
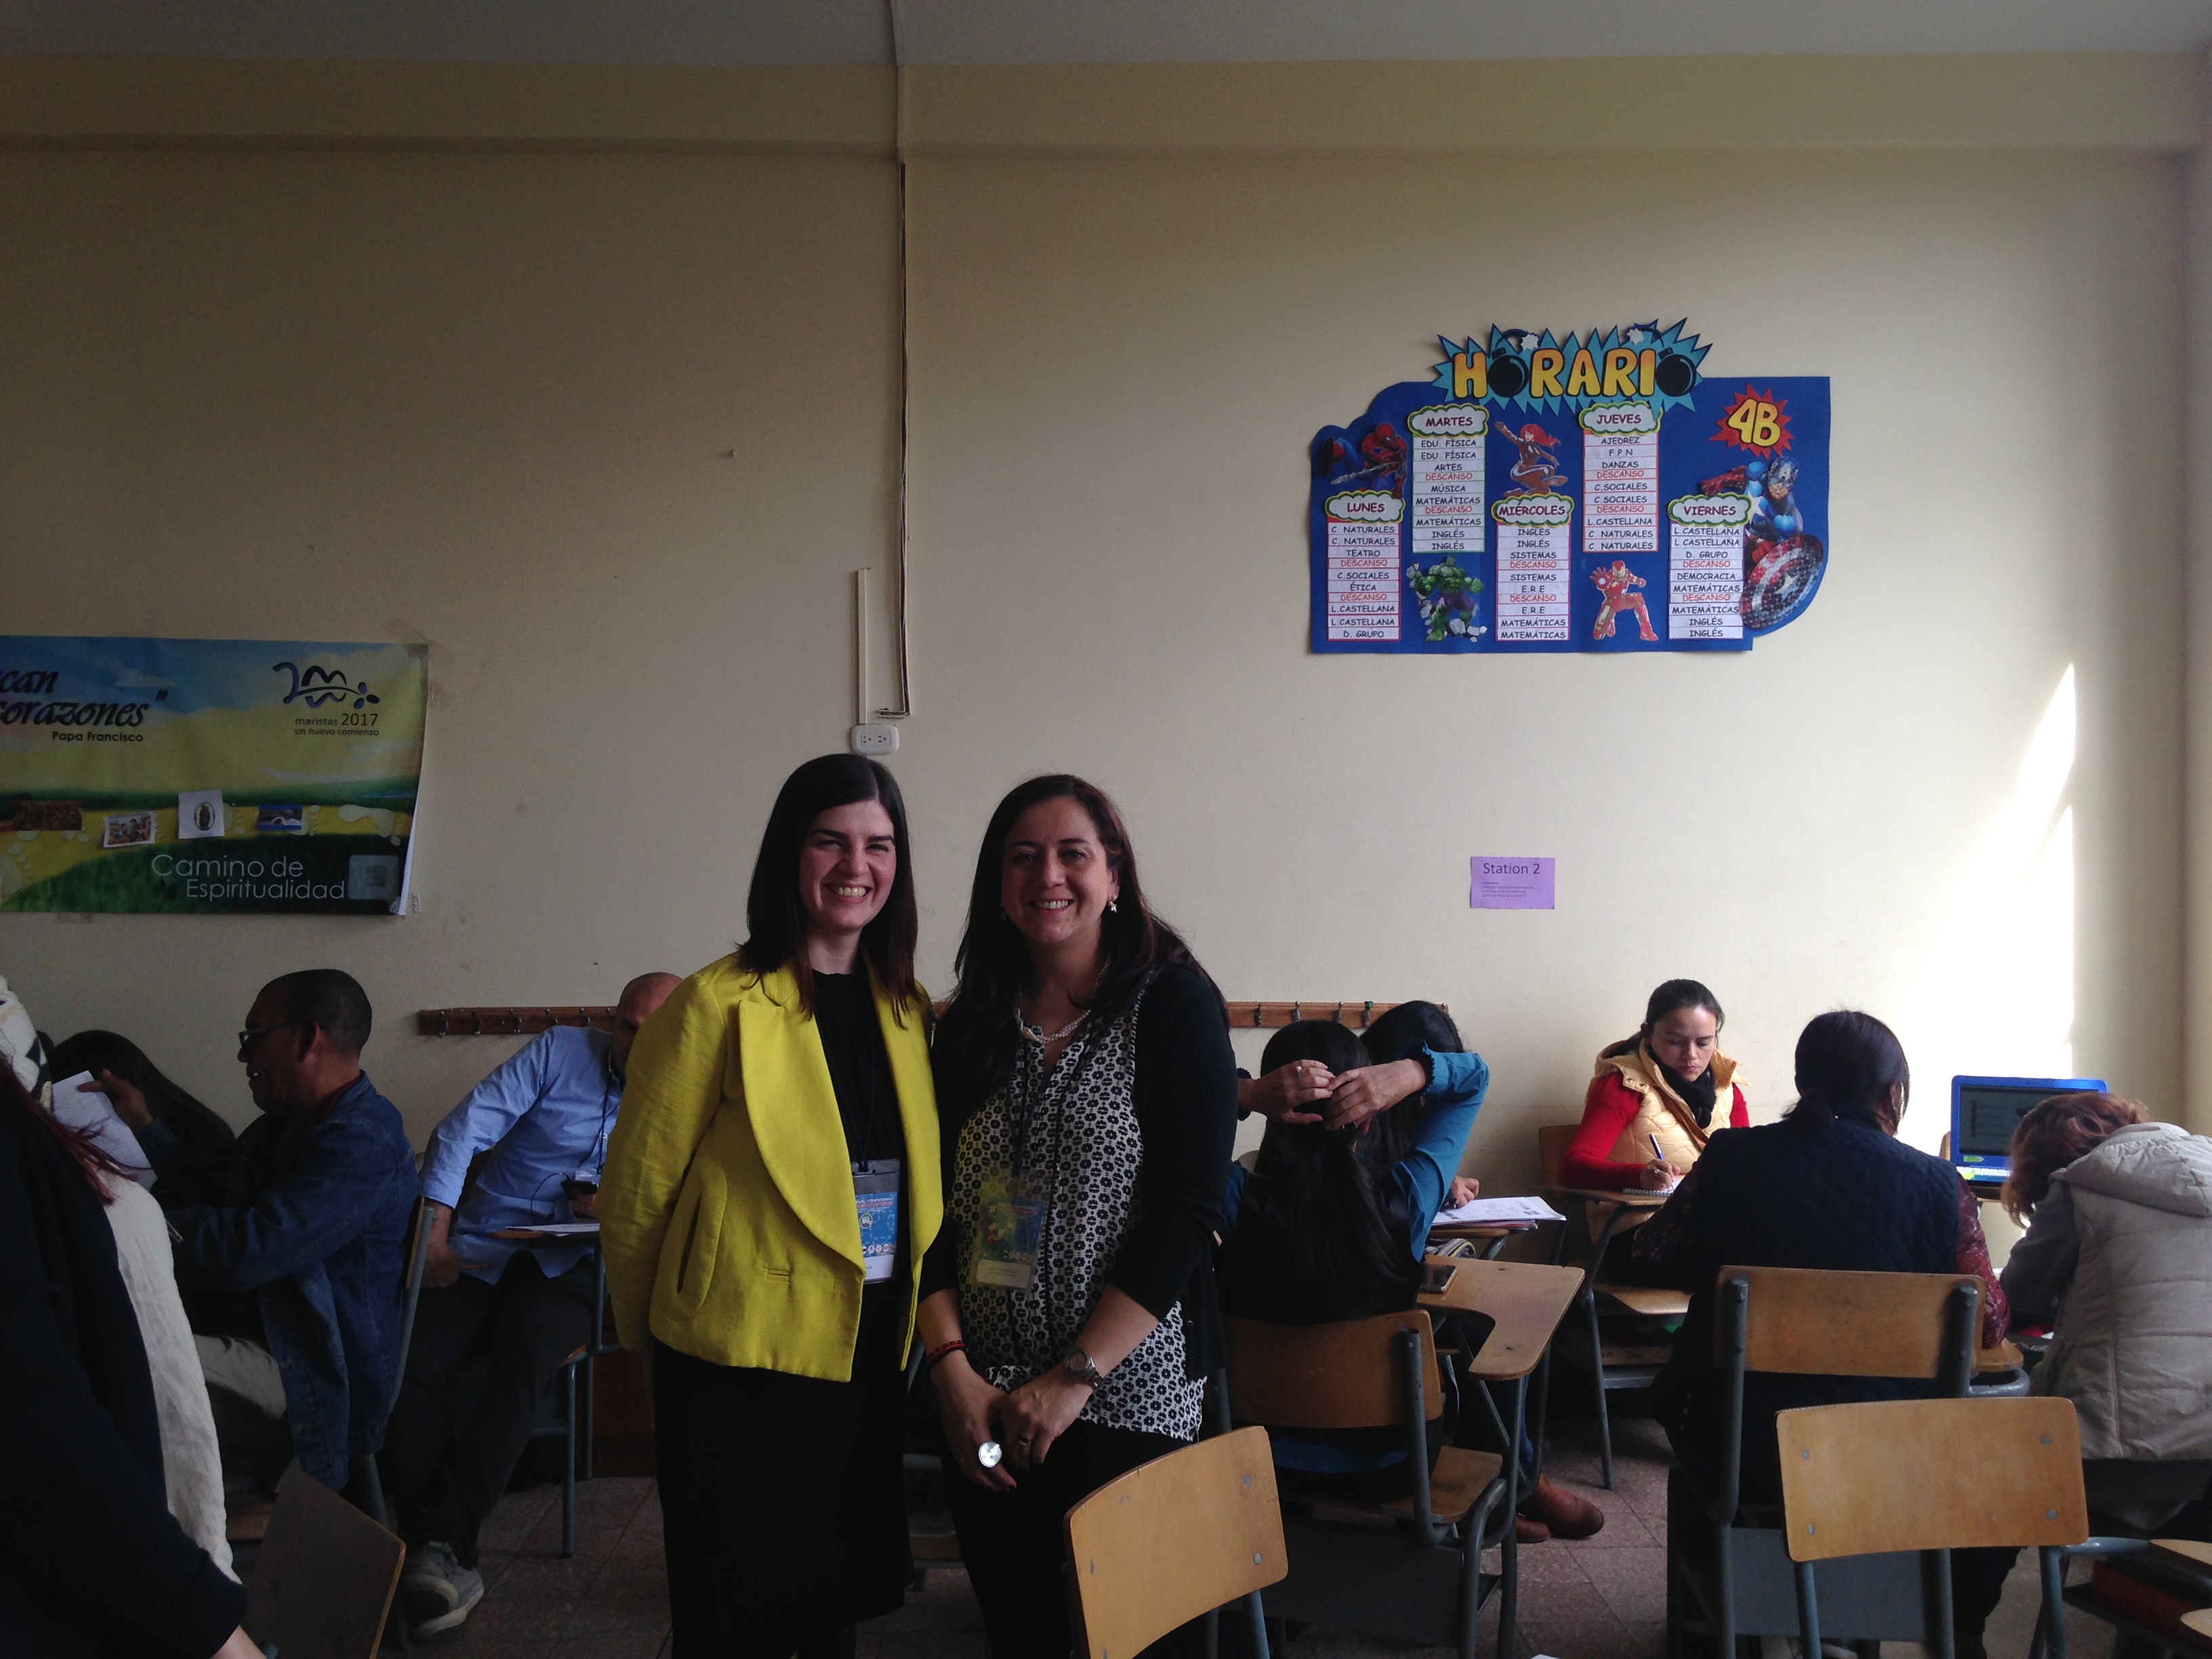
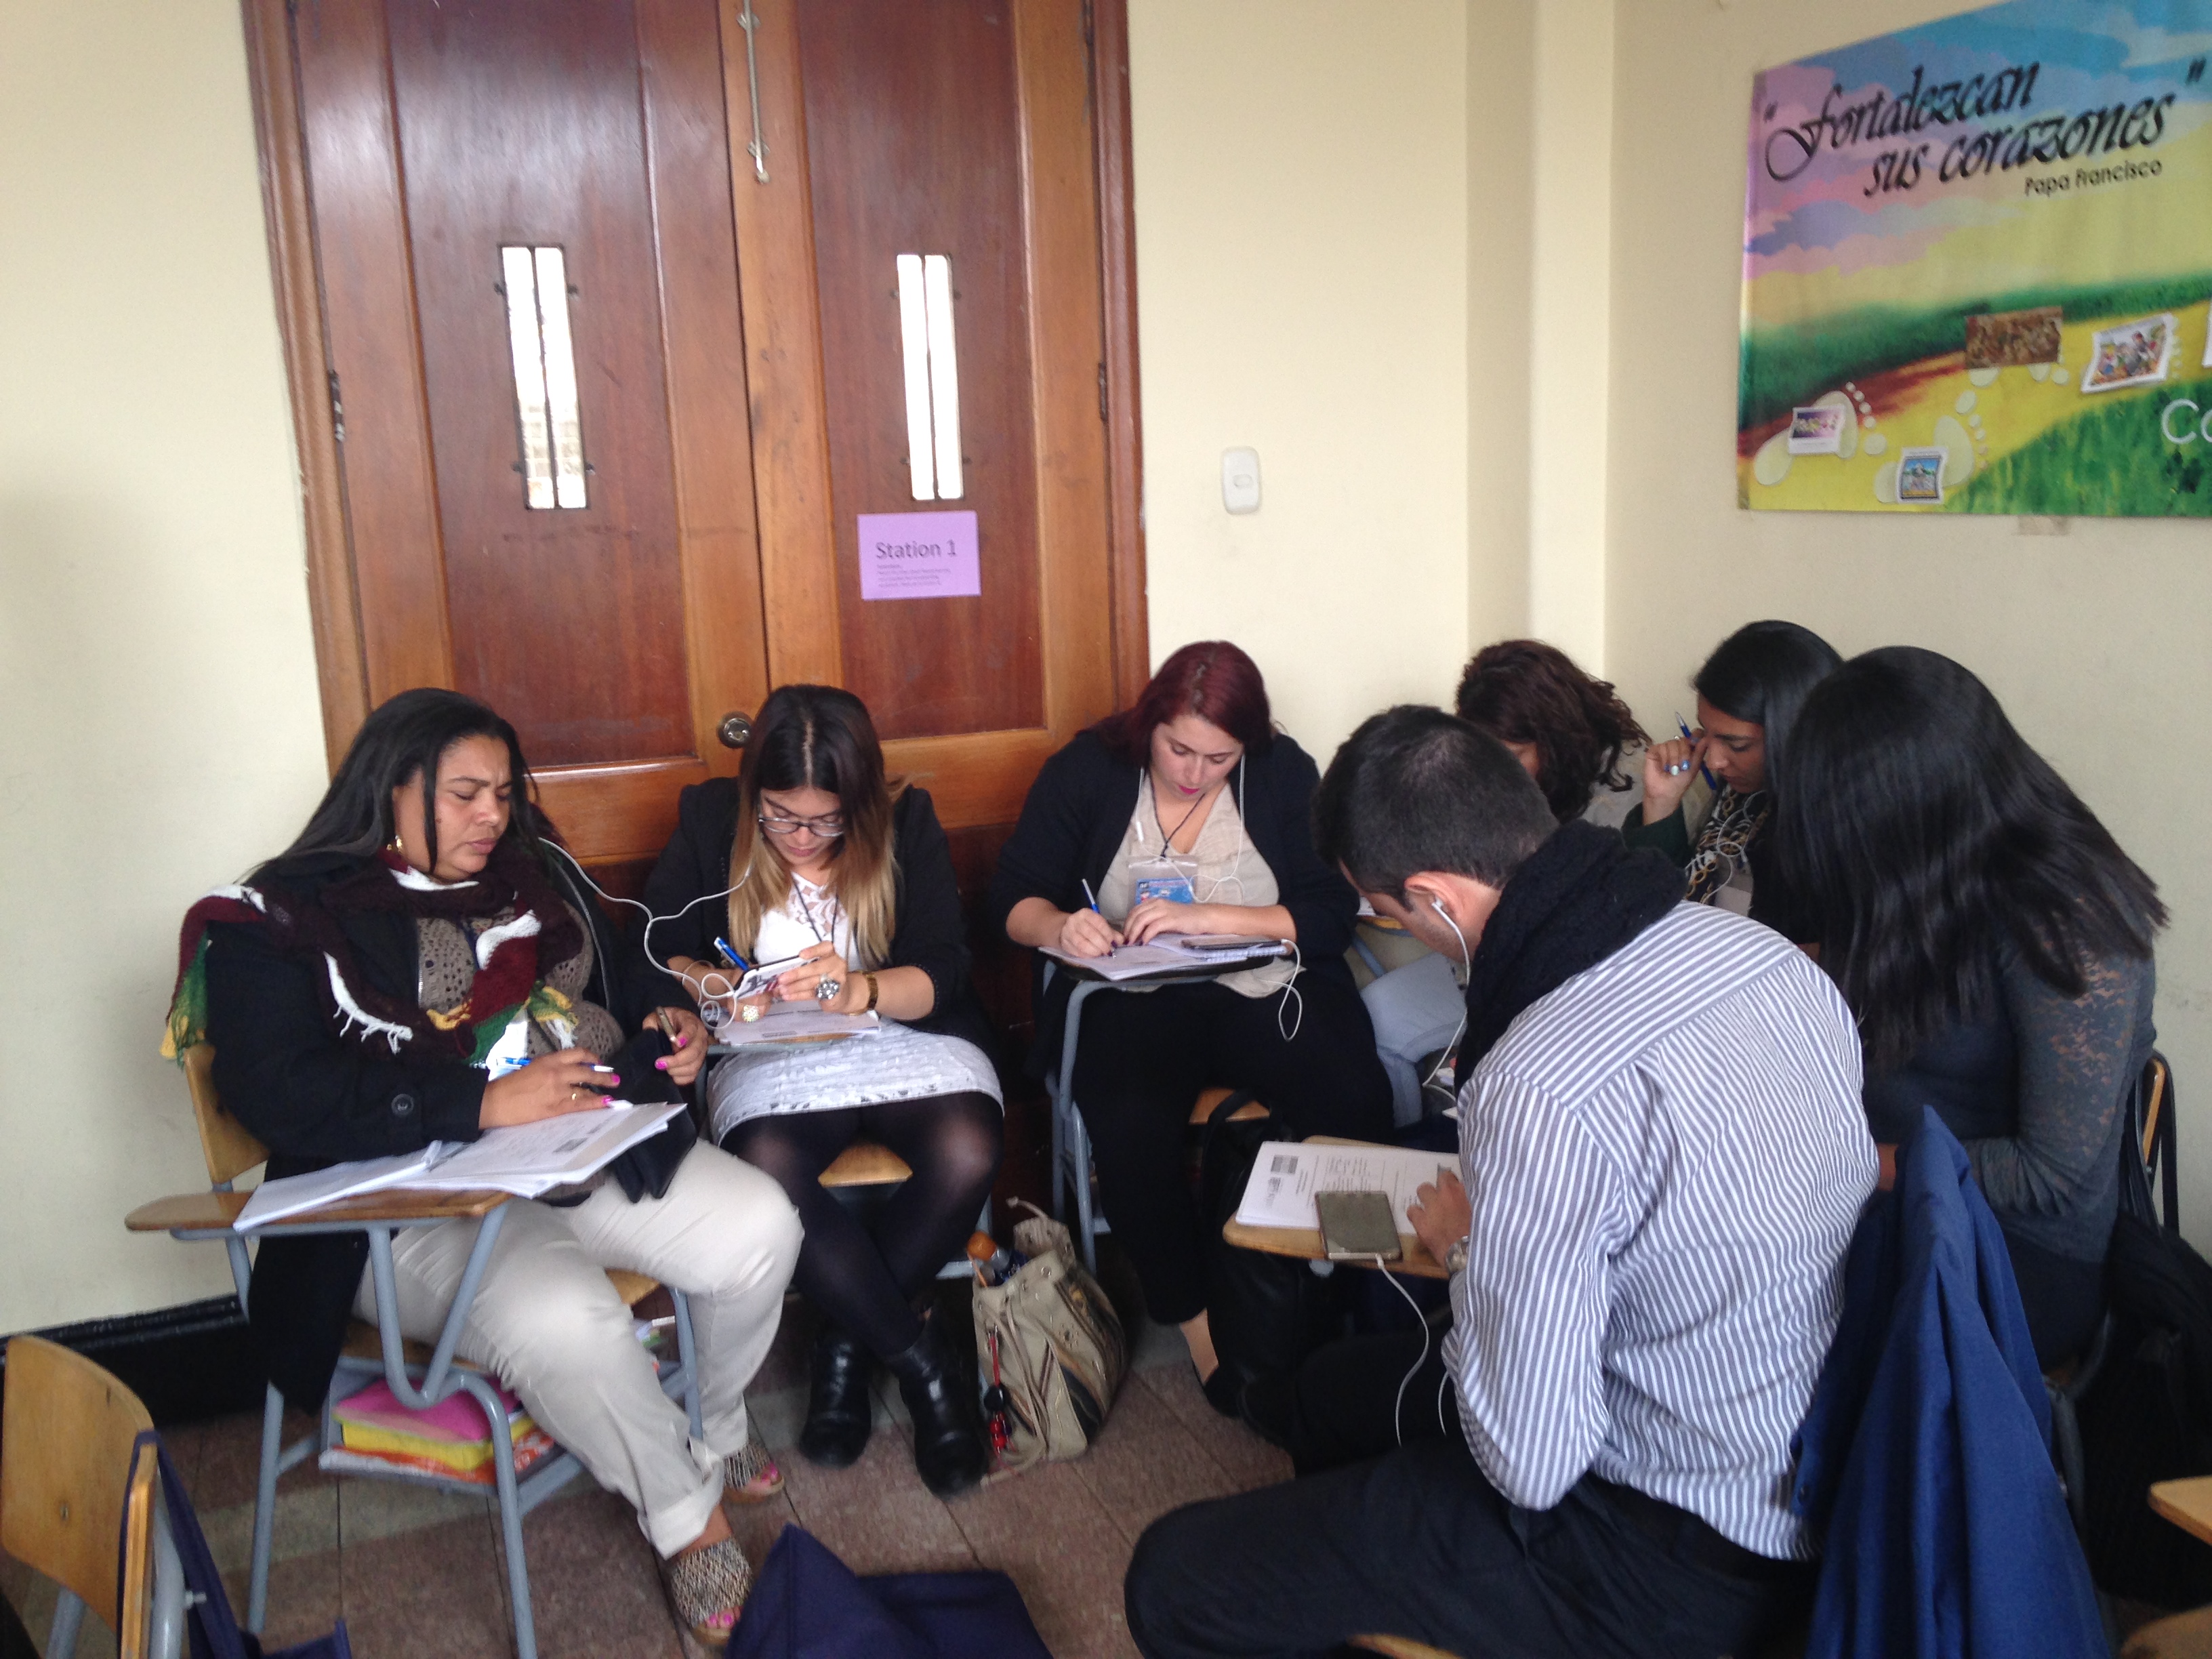
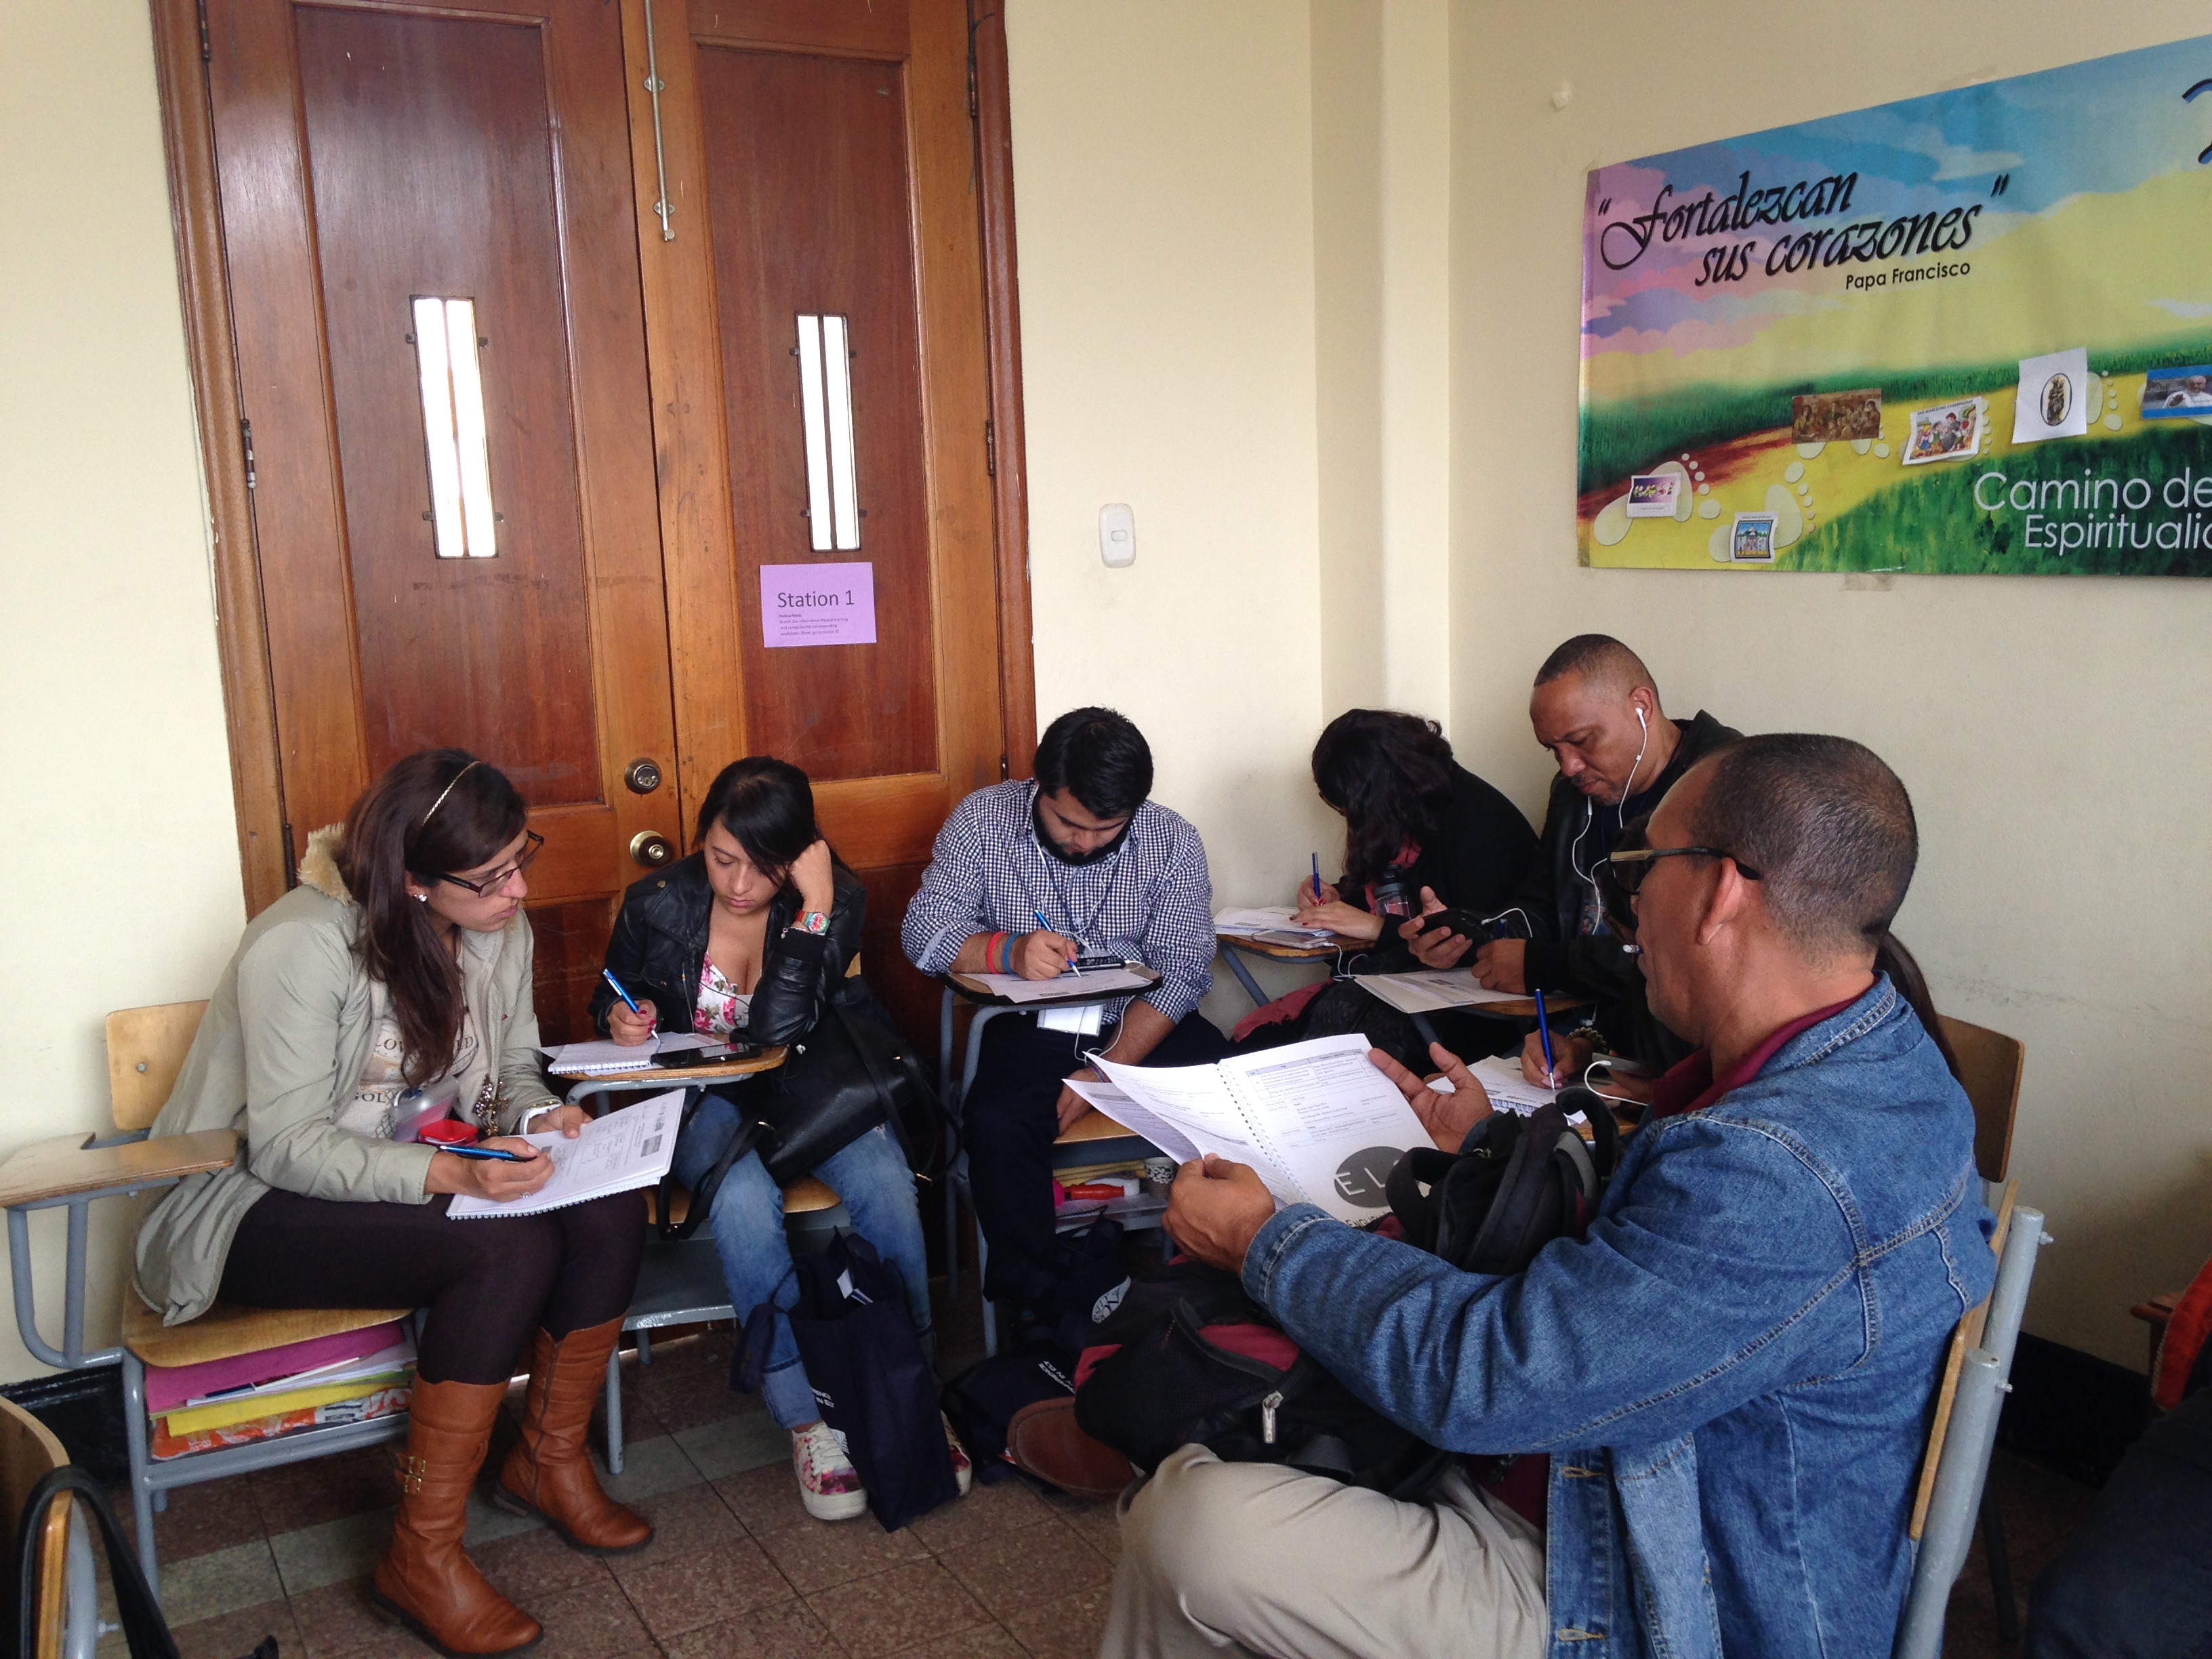
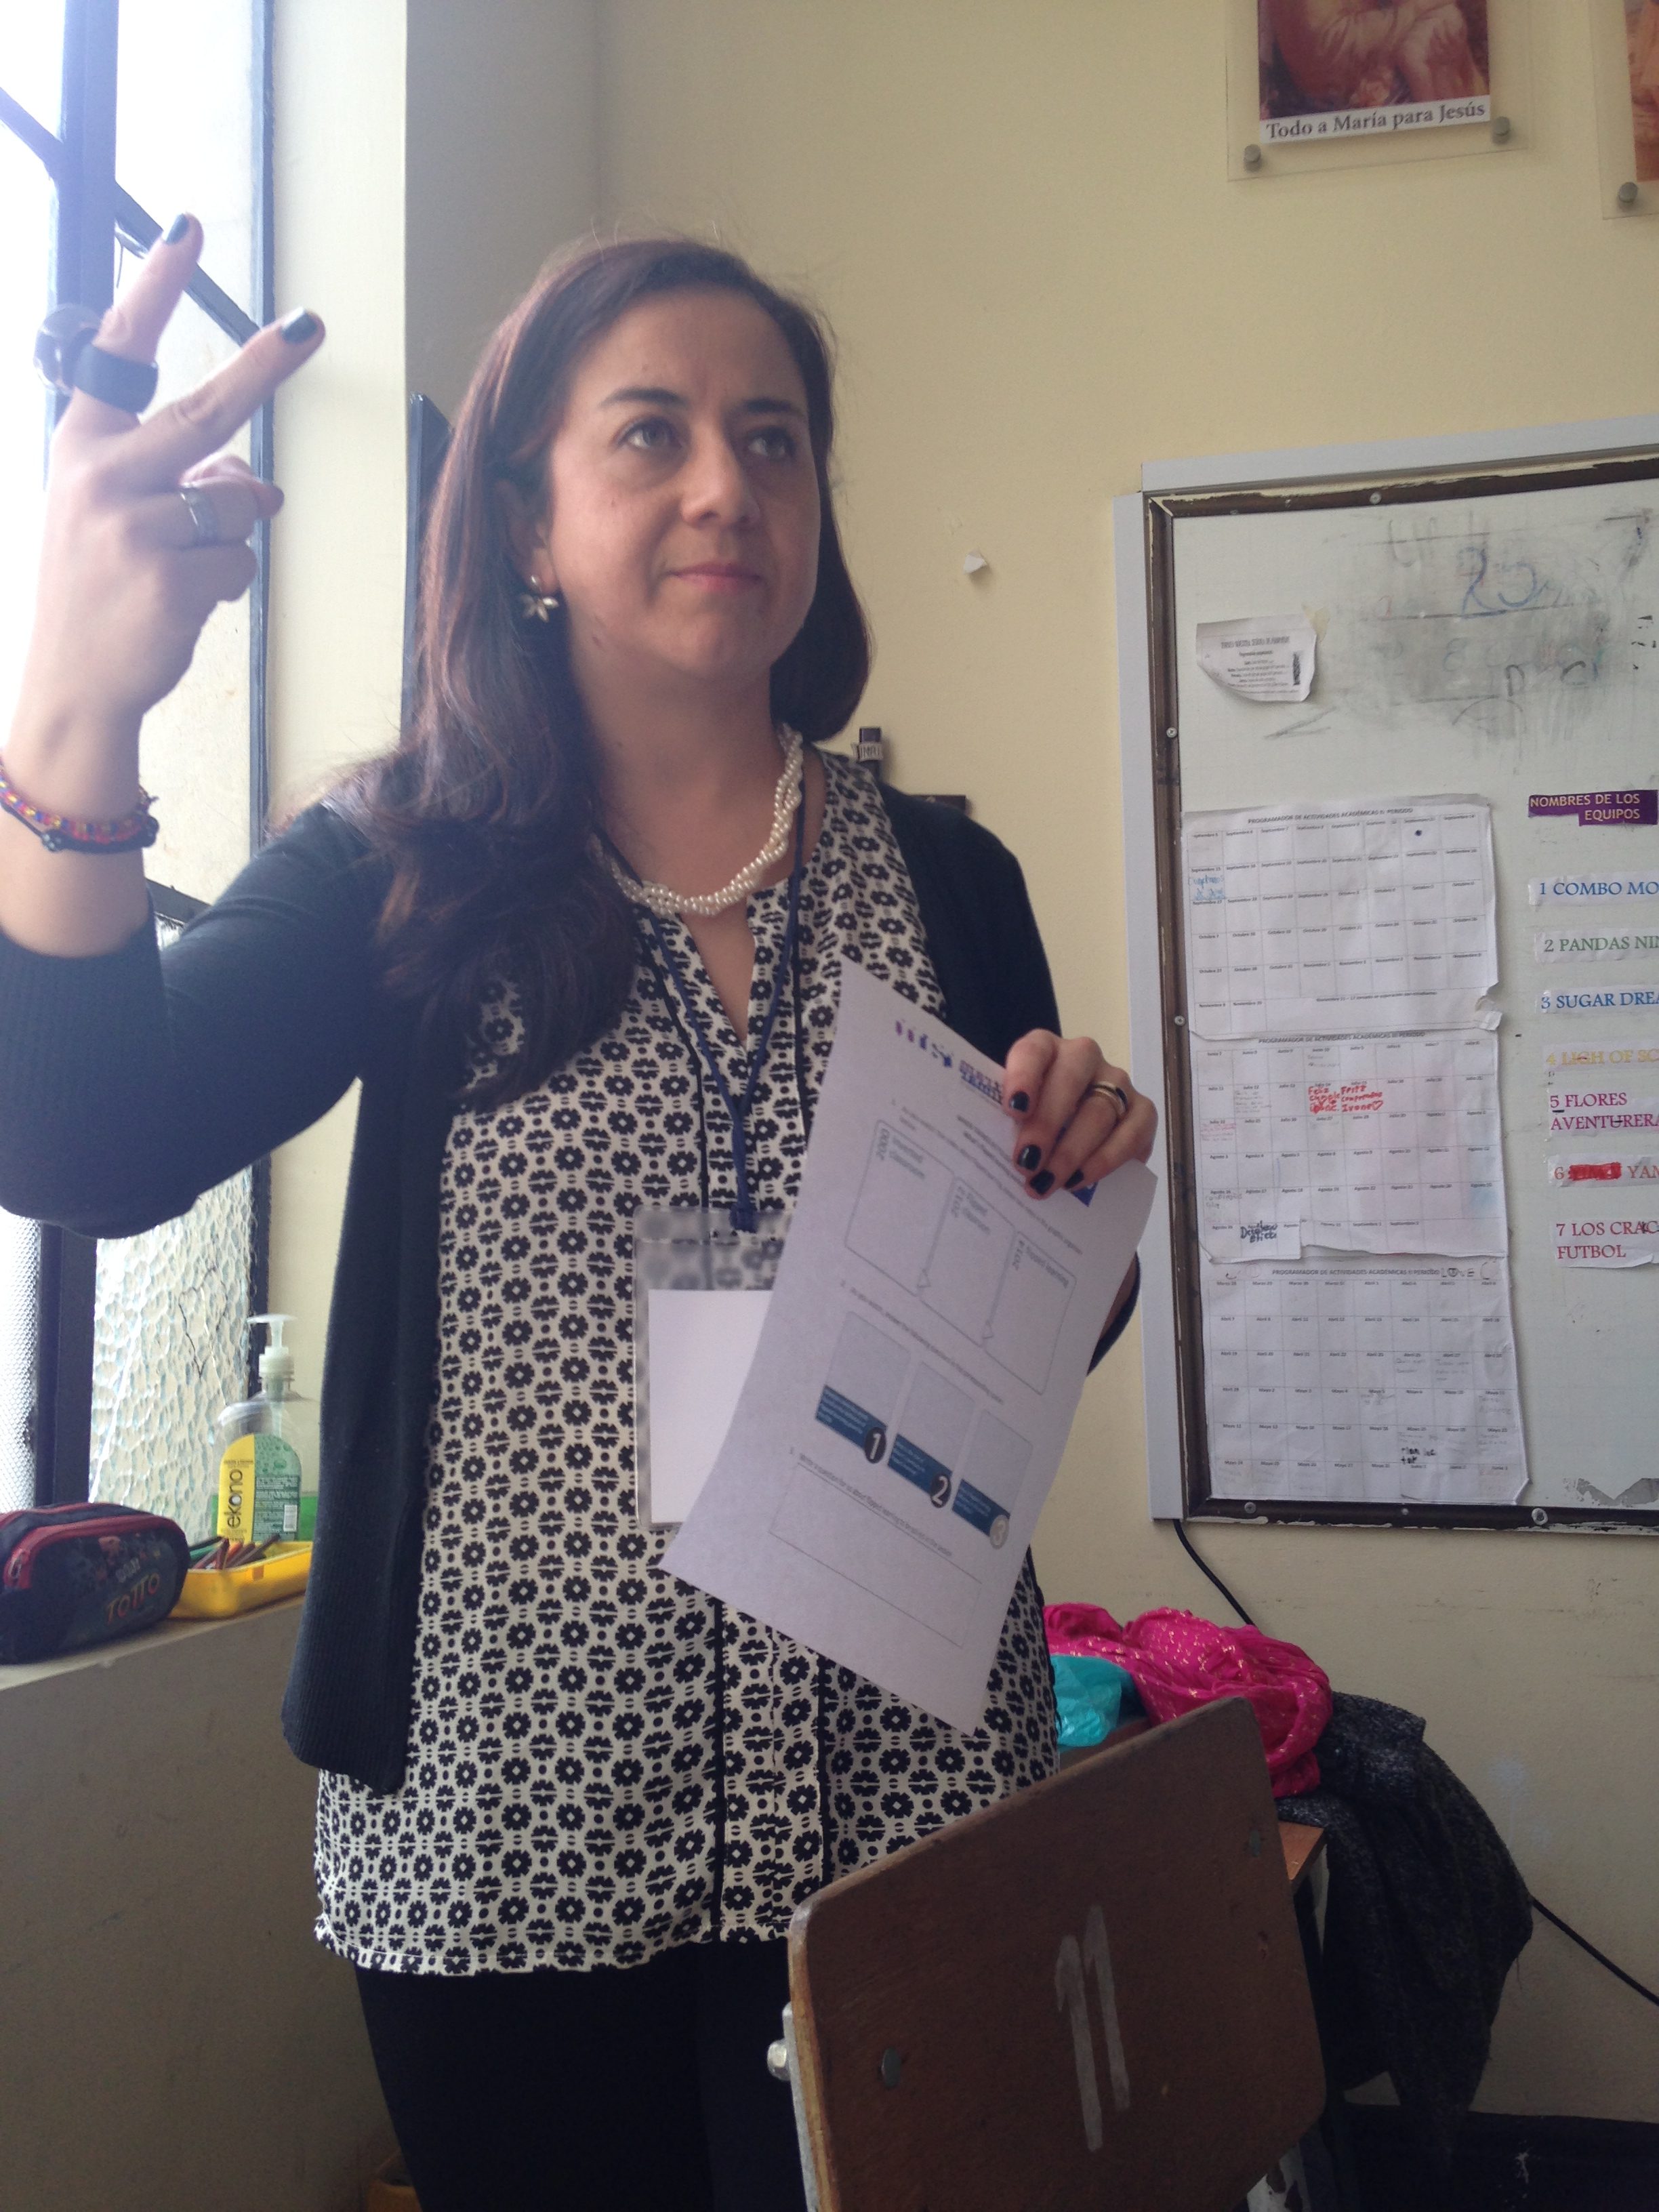
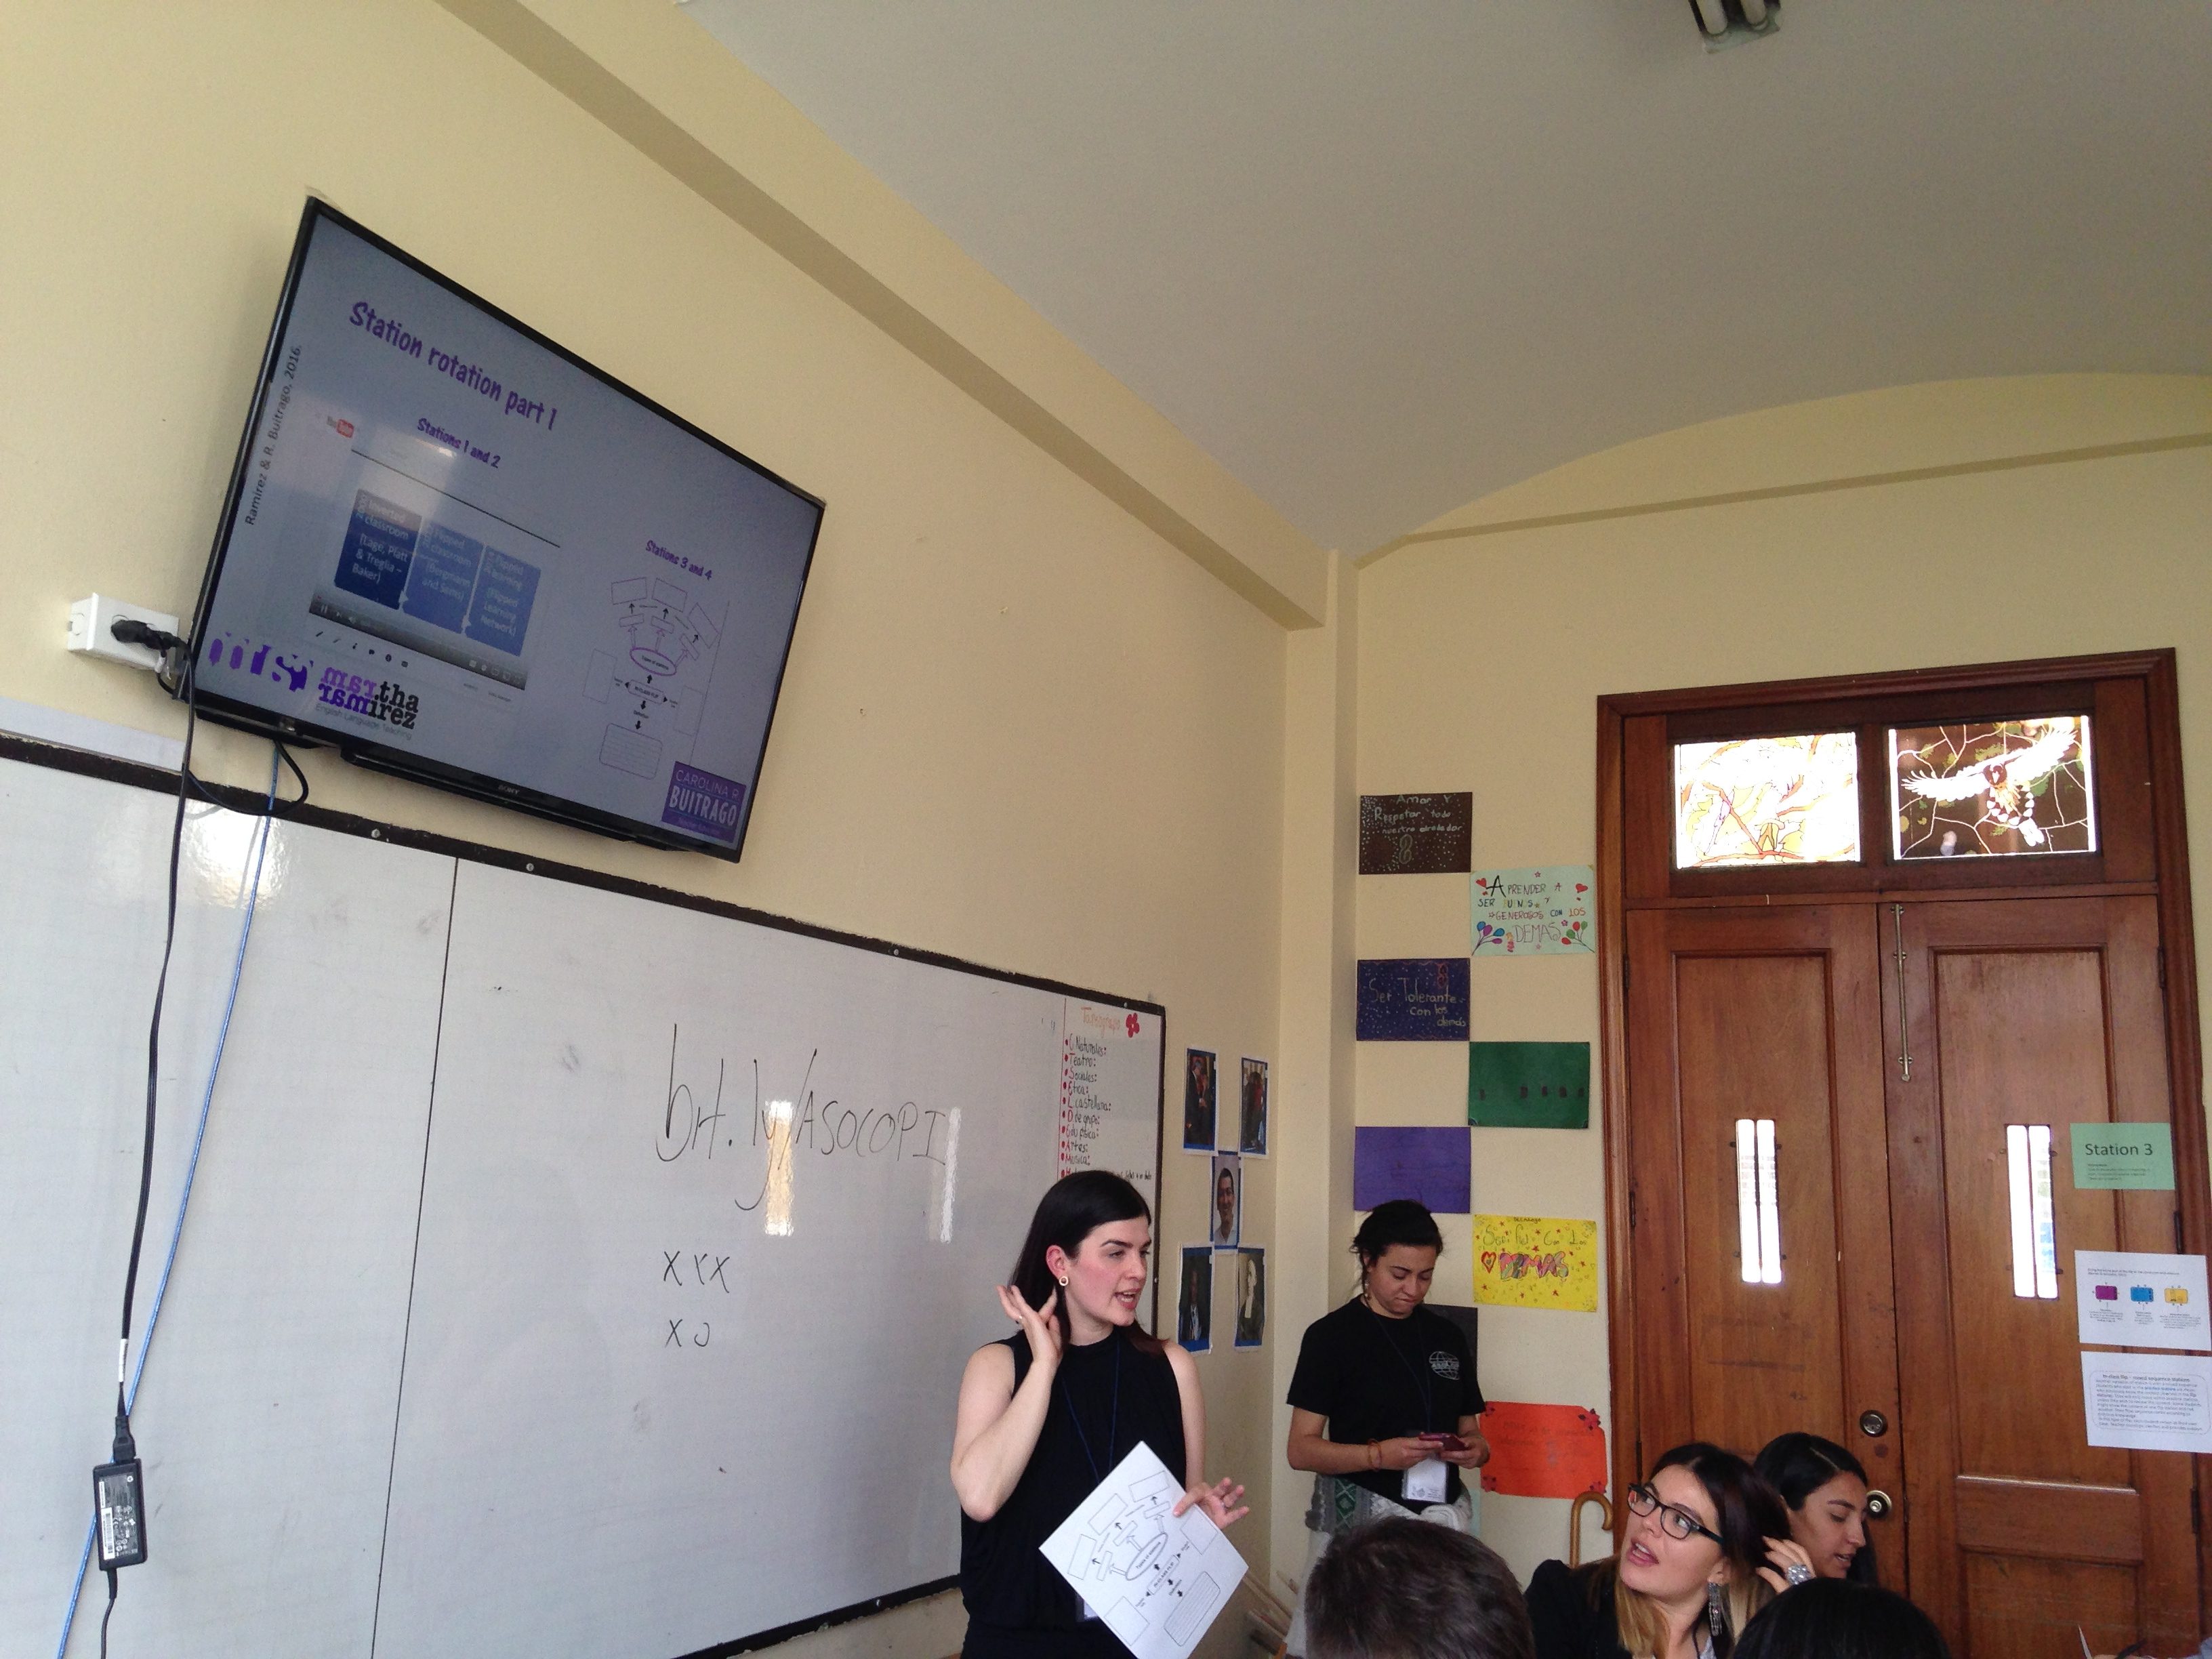
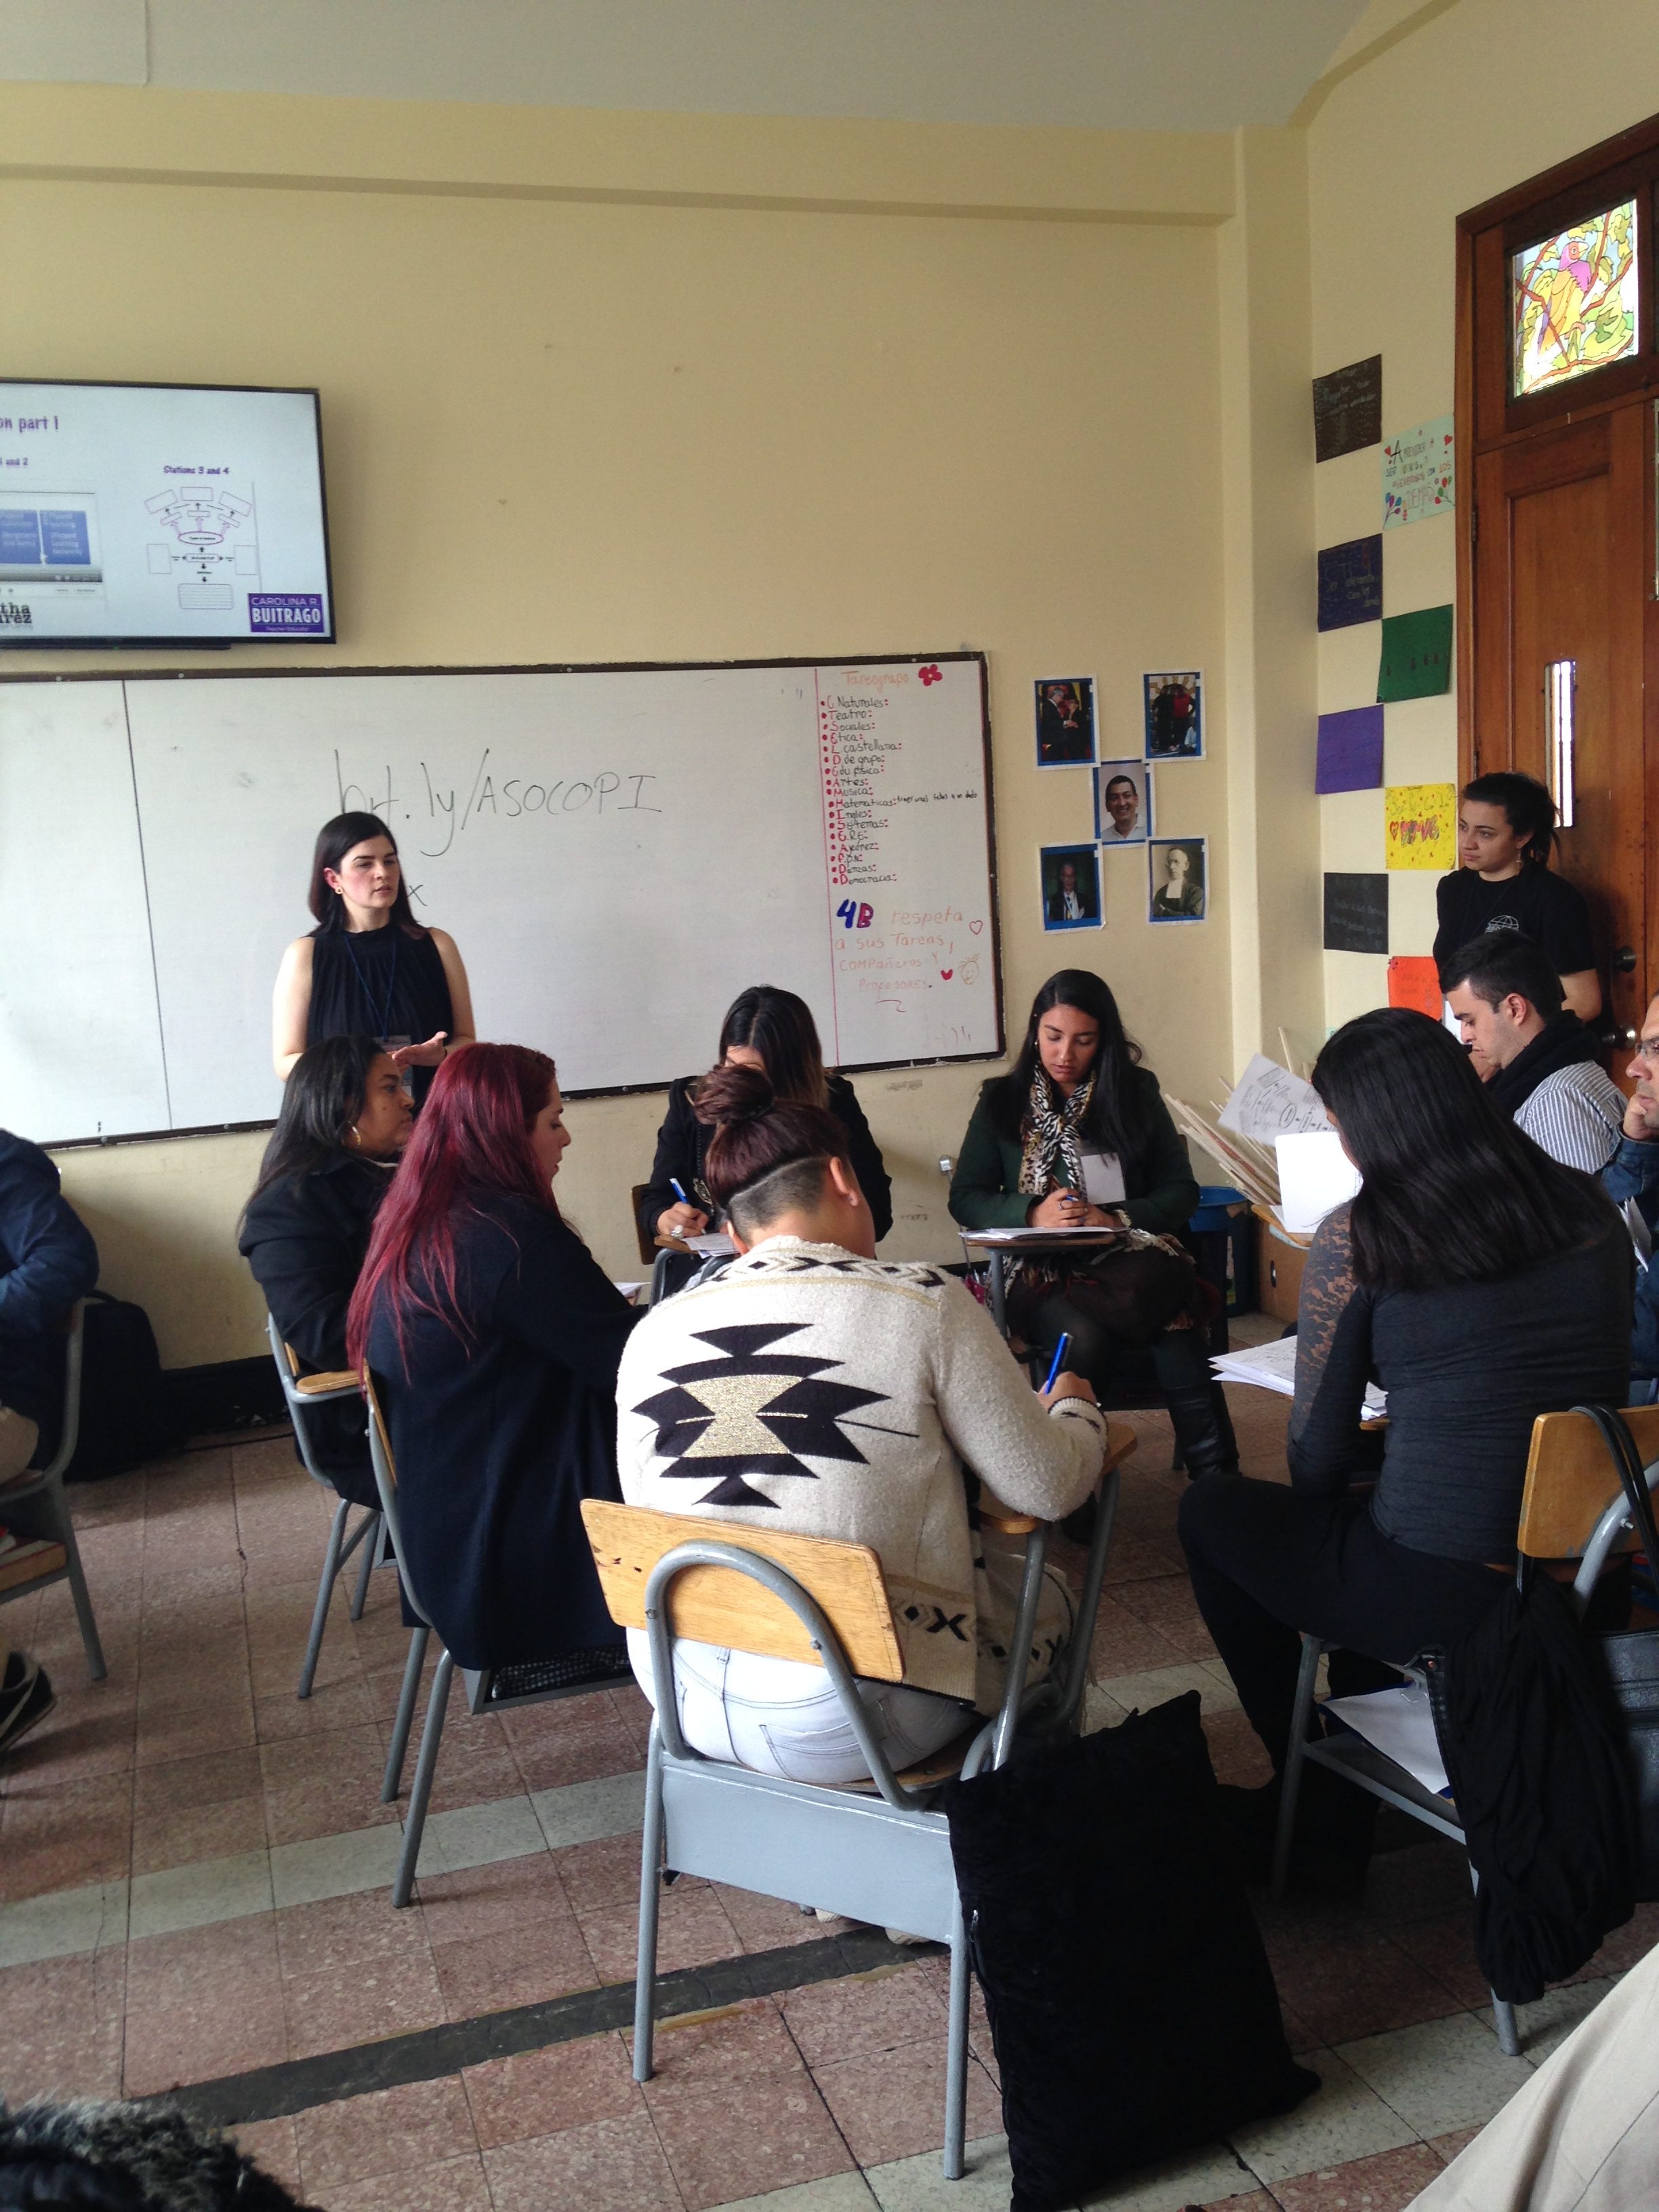
Our Photo Gallery
Check out some photos of the session.
-
0
-
0
-
0
-
0
-
0
-
0
-
0
-
0
-
0
-
0
-
0
-
0
-
0

-
0
-
0
-
0

What We Learned
These are some of our takeaways from this session:
- Blind-planning an in-class flip without knowing who, and how many people would attend, the classroom space or available tools was mind-bending, but we made it work by counting on attendees own resources and having a plan A, B and C.
- Even though some teachers were skeptic with the dynamic at first, they would see for themselves how the group settled in and worked well. They actually mentioned how incredible it seemed that everyone was so focused.
- BYOD works great within this type of flip.
- We were able to teach about what flipping and in-class flip was with two tasks included in exactly 24 minutes to a group of 32!
- Our job was to monitor and provide support, but we noticed there were hardly any explanations needed! Teachers loved the true hands-on nature of the session. They mentioned it at the end.
In short, our in-class flip session was a success, not only because we managed to do all the activities we’d planned and it all worked out well, but because we showed teachers that in-flips are possible in any context, they just need to be creative. After the session, many teachers approached us to share their enthusiasm about in-class flipping their own classes. And even a few weeks after, we received calls from people in another city asking us to review their in-class flip lesson plan. Loop input was definitely the best way to show teachers what they can do with their students. After all, that is the entire point of flipping, to guarantee that students (in this case teachers) are the main actors in their own learning process.
REFERENCES
Kirch, C. (2016) Flipping with Kirch: The Ups and Downs from Inside My Flipped Classroom. The Bertzmann Group, LLC. New Berlin, WI. US.
Woodward, T. (2003) Loop Input. ELT Journal, 57/3. http://eltj.oxfordjournals.org/content/57/3/301.full.pdf+html
Wow, I love this flip-in concept. Definitely, the key aspect is planning, well designed tasks and clear instructions so everybody would know what to do. My question is: did you have a final discussion/reflexion about the topic with the whole group once all the stations were completed?
Hi Yuly. Yes, we did. We had a final reflection on how the teachers felt in the process and the benefits of having the teacher on the side guiding the process while focused on the student.